

12 Age Banded Kitchen Science Experiments for Parents and Teachers
This page gives you 10 to 12 ready-to-run kitchen science experiments sorted by age, each using pantry items you probably already own. Every card lists materials, quick steps, the science concept behind it, and a mess or safety note, so you can pick one in under a minute and start it the same day, at home or in a classroom.
TL;DR:
- The lemon volcano experiment demonstrates citric acid reacting with baking soda to produce carbon dioxide gas, suitable for children aged 4 to 8.
- Non-Newtonian behavior is shown by mixing cornstarch and water, highlighting how the substance resists sudden force but flows when pressure is gentle.
- The density rainbow jar requires careful pouring of liquids by density to maintain separation, making it appropriate for children aged 6 to 12.
- Safe supervision is essential when handling heat, vinegar, or balloons, especially with children under 4 or those with allergies to dairy or nuts.
- Stocking basic pantry items like baking soda, vinegar, sugar, and food coloring enables repeated experiments, with optional tools like droppers and scales enhancing investigation depth.
Table of Contents
- The Best Kitchen Science Experiments for Kids
- Matching Experiments to Age and Keeping Kids Safe
- Building a Kitchen Science Kit You Can Reuse for Months
- Turning One Experiment Into a Real Science Project
- Why Kitchen Experiments Actually Teach Science
- Running Experiments With Kids of Different Ages Together
- Comic Books That Pair Stories With Real Experiments
- Where to Learn More
- Sources
The Best Kitchen Science Experiments for Kids
Each experiment below works with items already in most pantries. Ages are starting points, not hard rules. A curious 6-year-old with a patient adult can often handle the “early elementary” tier.
-
Lemon Volcano (ages 4 to 8). Materials: lemon, baking soda, dish soap, food coloring, small bowl. Hollow out a lemon half, add dish soap and food coloring, then spoon in baking soda and watch it foam. This is a classic acid-base reaction where citric acid meets sodium bicarbonate and releases carbon dioxide gas. Time: 10 minutes. Mess level: moderate, keep it on a tray.
-
Oobleck (ages 3 to 10). Materials: cornstarch, water, mixing bowl, food coloring (optional). Mix two parts cornstarch to one part water. Punch it fast, it feels solid; let your hand sink in slowly, it flows like liquid. This shows non-Newtonian fluid behavior, where the mixture resists sudden force but yields to gentle pressure. Time: 5 minutes. Mess level: high, cornstarch tracks everywhere.
-
Density Rainbow Jar (ages 6 to 12). Materials: honey, dish soap, water, vegetable oil, rubbing alcohol, food coloring, tall clear jar. Pour liquids in slowly by density, heaviest first. Layers stay separate because density differences prevent mixing. Time: 15 minutes. Mess level: low if poured carefully.
-
Walking Rainbow Water (ages 5 to 10). Materials: six clear cups, paper towels, water, food coloring. Fold paper towels into strips, set them between cups of colored water, and watch color travel through capillary action within an hour. See our capillary action guide for extended variations. Time: 5 minutes setup, hours to watch. Mess: minimal.
-
Baking Soda Volcano (ages 4 to 9). Materials: baking soda, vinegar, dish soap, tray, small bottle. Mix vinegar and soap in the bottle, add baking soda, and step back. This demonstrates the same acid-base fizz as the lemon volcano at a bigger scale. Full instructions live in our baking soda and vinegar experiments roundup. Time: 10 minutes. Mess: high, do this outdoors or in a sink.
-
Milk Plastic (ages 8 to 12). Materials: whole milk, white vinegar, strainer, paper towel. Heat milk gently, stir in vinegar, and strain out the curds that form. Casein protein in milk clumps when acid changes its structure, an early look at polymers. Time: 20 minutes. Mess: moderate, needs stove supervision.
-
Rock Candy Crystals (ages 8 to 12). Materials: sugar, water, string, clothespin, jar. Dissolve sugar into hot water until saturated, suspend a string, and wait several days for crystals to form. This is crystallization in slow motion, and it doubles as a patience lesson.
-
Bread Yeast Balloon (ages 7 to 12). Materials: yeast, sugar, warm water, small bottle, balloon. Combine yeast, sugar, and warm water in the bottle, stretch a balloon over the opening, and watch it inflate as fermentation releases gas. Time: 20 minutes.
-
Red Cabbage pH Indicator (ages 9 to 12). Materials: red cabbage, hot water, blender or knife, several clear cups, household liquids to test (lemon juice, soap, baking soda solution). Boiled cabbage water changes color across the pH scale, letting kids sort household items as acids or bases.
-
Egg Osmosis (ages 8 to 12). Materials: raw egg, vinegar, corn syrup, two jars. Soak an egg in vinegar for a day to dissolve the shell, then place the naked egg in corn syrup and watch it shrink as water moves out through osmosis.
-
Pepper and Soap Surface Tension (ages 5 to 10). Materials: shallow bowl, water, ground pepper, dish soap. Sprinkle pepper on water, touch a soapy finger to the center, and watch pepper flee outward as soap breaks surface tension. Time: 5 minutes.
-
Ice Cream in a Bag (ages 6 to 12). Materials: cream, sugar, vanilla, ice, salt, two zip bags. Shake cream and sugar inside an ice-and-salt bath and watch a phase change from liquid to solid, driven by salt lowering the ice’s freezing point.
Matching Experiments to Age and Keeping Kids Safe
Toddlers under 4 do best watching an adult run the whole thing, calling out colors and reactions rather than handling materials. Preschoolers, ages 4 to 6, can pour and stir under close guidance but shouldn’t handle heat or vinegar unsupervised. Early elementary kids, ages 7 to 9, can run most steps themselves with an adult nearby for anything hot or messy. Upper elementary kids, 10 to 12, can often manage an entire experiment independently once you’ve checked their setup.
Six rules keep any session safer:
- Never let kids eat or drink anything from an experiment unless the recipe is explicitly food-safe and an adult has confirmed it, since some materials look edible but aren’t.
- Use oven mitts anytime a stove or hot water is involved, even for “just a minute.”
- Add eye protection or step back a few feet for anything that sprays or foams fast, like the volcano cards.
- Keep balloons, small jars, and loose beads away from any child under 3 in the room, even if they’re not the one doing the experiment.
- Ask about allergies before any dairy, nut, or egg-based experiment, not just food ones you plan to eat.
- Have a damp cloth, tray, and trash bag ready before you start, not after the mess happens.
Pro Tip: If you’re short on time or worried about mess, run an “observation only” version, do the mixing yourself and let kids predict and narrate what happens. You still get the learning without the cleanup.
Building a Kitchen Science Kit You Can Reuse for Months
Stock these staples once and you can run most of the cards above without another shopping trip:
- Baking soda
- White vinegar
- Cornstarch
- Food coloring
- Salt
- Sugar
- Dish soap
- Vegetable oil
- Yeast
- Balloons
- Clear jars or cups
- Measuring spoons
Add pipettes, droppers, a set of graduated cups, and a digital kitchen scale if you want more precise results, useful once kids start comparing trials rather than just watching one reaction. Buy the basics in bulk since they’re cheap and shelf-stable, and rinse jars for reuse instead of buying dedicated kits. For tips on getting kids comfortable with measuring tools, see our guide to measuring in the kitchen.
Turning One Experiment Into a Real Science Project
Any card above becomes a mini investigation with a few extra steps:
- Ask a question (“Does more vinegar make a bigger reaction?”).
- Write a hypothesis before testing.
- Pick one variable to change while keeping everything else the same.
- Run at least three trials, not one.
- Record results on a simple chart or observation card.
- Compare results and write a one-line conclusion.
For the baking soda volcano, kids can test how vinegar amount changes foam height, recording height in centimeters across three trials. For rock candy, they can compare crystal size at different sugar concentrations over the same number of days. Small additions like controlled variables and repeated trials are really all it takes to turn a demo into a project. A bar graph of trial results works well for a science fair board, and simple observation cards work for younger kids who can’t graph yet.
Why Kitchen Experiments Actually Teach Science
Brainie Comics builds every story around real experiments kids can run with what’s already in the kitchen, because familiar tools remove the friction that keeps reluctant readers from engaging with science at all. Kids don’t need to learn a new tool before they can learn a new concept.
Familiar materials lower the barrier to entry. When kids already know what a bowl, a spoon, and vinegar are, they can focus entirely on cause and effect instead of figuring out equipment. That’s what makes kitchen chemistry an effective way to introduce the scientific method to kids who’d otherwise tune out a textbook.
Older kids benefit from applying this to actual cooking, since food science activities suit ages 10 to 12 especially well for identifying physical versus chemical changes in recipes.
Running Experiments With Kids of Different Ages Together
Splitting a mixed-age group into rotating stations works better than one big activity for everyone. Give older kids the station requiring more precision, like measuring crystal growth, while younger ones handle the volcano cards where mess is part of the fun.
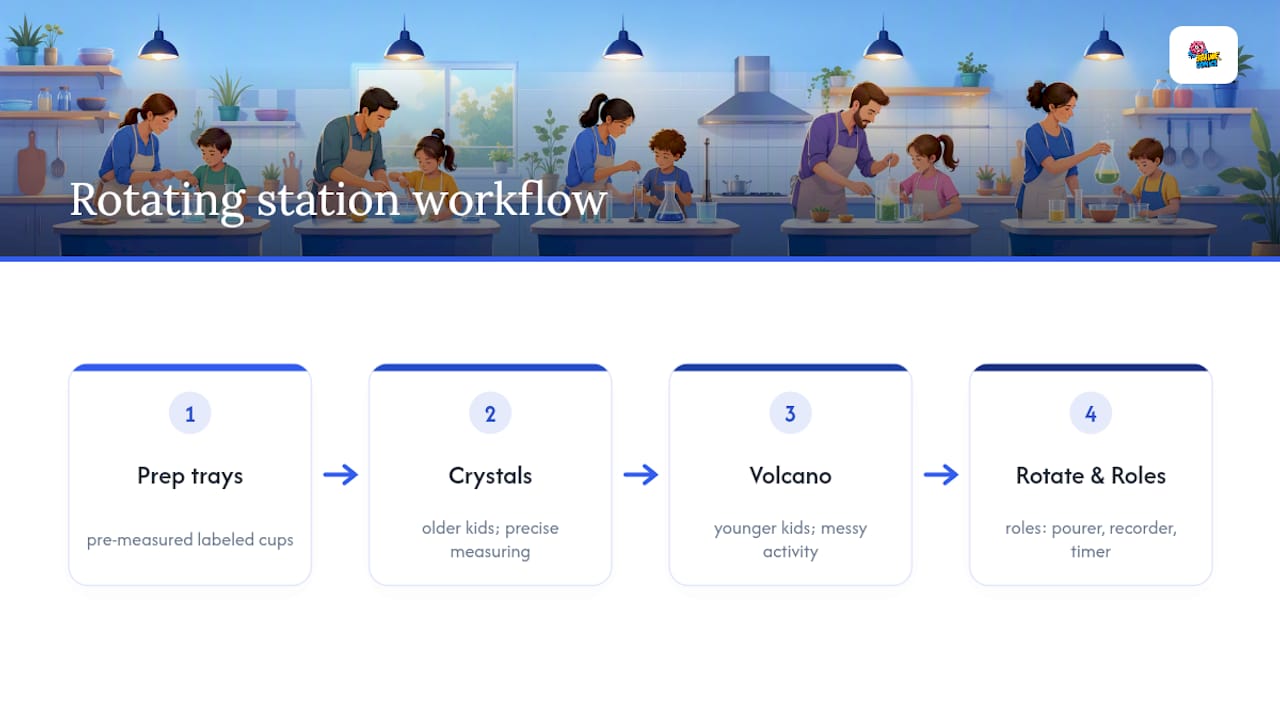
Prep trays the night before, one per experiment, with materials pre-measured into labeled cups. It cuts setup time in half and stops kids from grabbing the wrong bottle mid-reaction. Keep a few clear jars aside purely for observation, so a child who finishes early can watch a slower reaction, like the rock candy, without disrupting anyone else.
Short demos beat long lectures every time. Show the reaction, ask what they noticed, then let them try it themselves. Giving each kid a consistent role, pourer, recorder, timer, keeps things fair and cuts the arguing over whose turn it is.
— Brainie Comics
Comic Books That Pair Stories With Real Experiments
If your kids want more after these 12 cards, Fizz Force and Gravity Gang turn chemistry and physics into ongoing adventures instead of one-off activities. Fizz Force follows a chemistry-driven storyline where kids run kitchen experiments to help the plot move forward. Gravity Gang does the same for physics concepts like force, motion, and gravity.
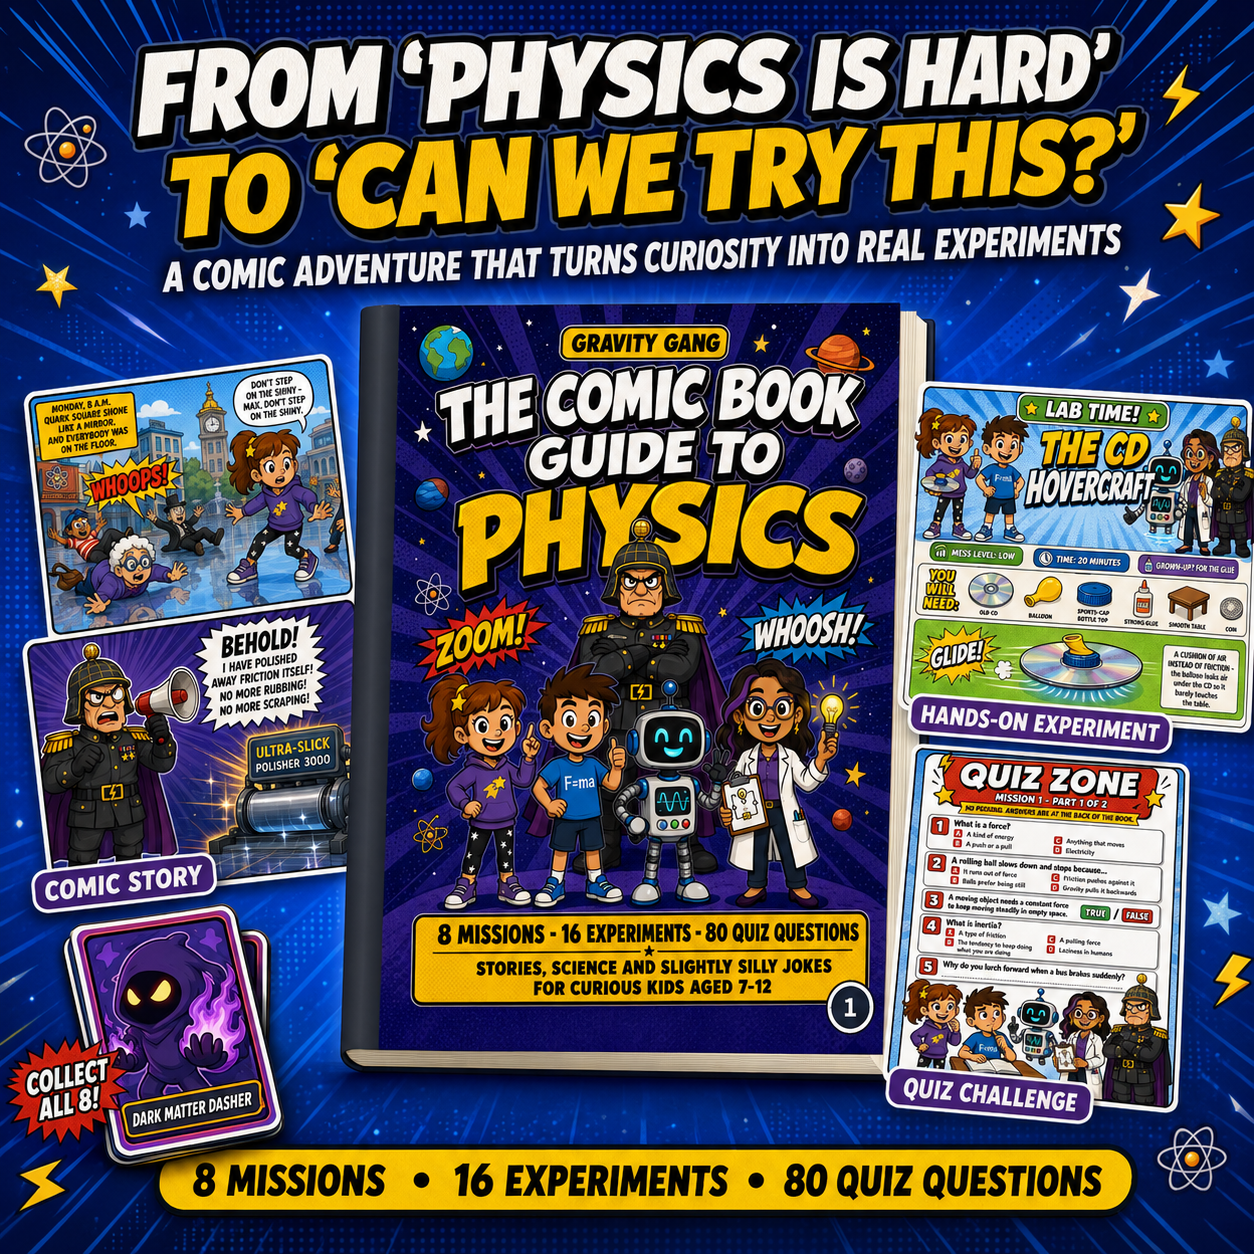
Each book includes:
- Step-by-step kitchen experiments tied to the story
- Quizzes that check what stuck
- A completion certificate kids can show off
Reluctant readers tend to stick with these because the science isn’t separate from the story, it’s the reason the story moves forward. If your family already has a favorite from the 12 experiments above, there’s a good chance one of these two books builds on it with a full narrative. Browse both titles at Brainie Comics and pick the one that matches whichever concept grabbed your kid’s attention first.
Where to Learn More
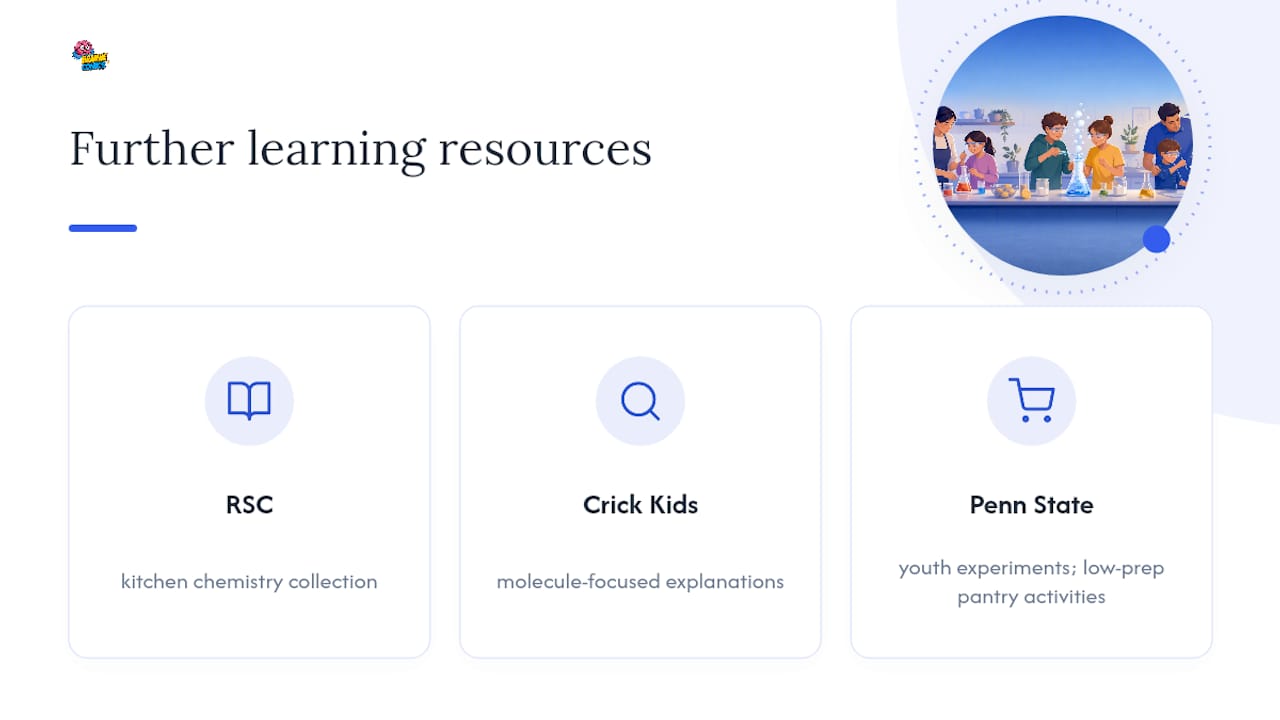
For deeper activity banks and classroom-ready labs, check the Royal Society of Chemistry’s kitchen chemistry collection, Crick Kids for molecule-focused explanations, and Penn State Food Science’s youth experiments for low-prep pantry activities.
Sources
- Kitchen chemistry | Royal Society of Chemistry (RSC)
- Kitchen chemistry | Crick Kids
- Simple experiments and activities for youth | Penn State Food Science
- Make a lemon volcano | Science Buddies