

8 Water Science Experiments Kids Can Start Today
Six experiments cover nearly every water concept a kid needs to see with their own eyes: a water cycle bag for evaporation and condensation, walking water for capillary action, a penny drop for surface tension, sink-or-float foil boats for density and buoyancy, a homemade filter for filtration, and oil-and-water with dish soap for polarity. Over 70% of Earth’s surface is covered by water, which is exactly why these materials sit in your kitchen already. Pick one, set a timer for a short period, and go.
-
Water cycle in a bag: evaporation, condensation, precipitation
-
Walking water: capillary action
-
Penny drop: surface tension and cohesion
-
Sink-or-float / foil boats: density and buoyancy
-
Filtration: permeability and particle separation
-
Oil and water with soap: polarity and surfactants
Key Takeaways
Hands-on water experiments teach core STEM concepts most effectively when paired with a prediction step, a single controlled variable, and a follow-up explanation of the science.
| Point | Details |
|---|---|
| Start small | Pick one 10 to 20 minute experiment, like the penny drop, before attempting a multi-day setup. |
| Seal it right | Water cycle bags fail most often from poor sealing or weak sunlight, not bad materials. |
| Test one variable | Compare sun versus shade, or folded versus twisted paper towels, to run a real fair test. |
| Filtered isn’t drinkable | The homemade filter demonstrates particle removal but does not produce safe drinking water. |
| Pair story with science | Brainie Comics’ Fizz Force and Gravity Gang bundle a story chapter with a matching kitchen experiment and worksheet. |
Table of Contents
- Water Science Experiments Every Kid Should Try
- What You Need and How to Keep It Safe
- Turning a Demo Into a Real Investigation
- How Story and Science Work Together
- Why We Built Story Into the Science
- Ready-Made Story and Experiment Pairs
- Sources
Water Science Experiments Every Kid Should Try
These eight setups use items already in most pantries and junk drawers. Each one takes under 30 minutes of active time, though a couple need a wait for the payoff.
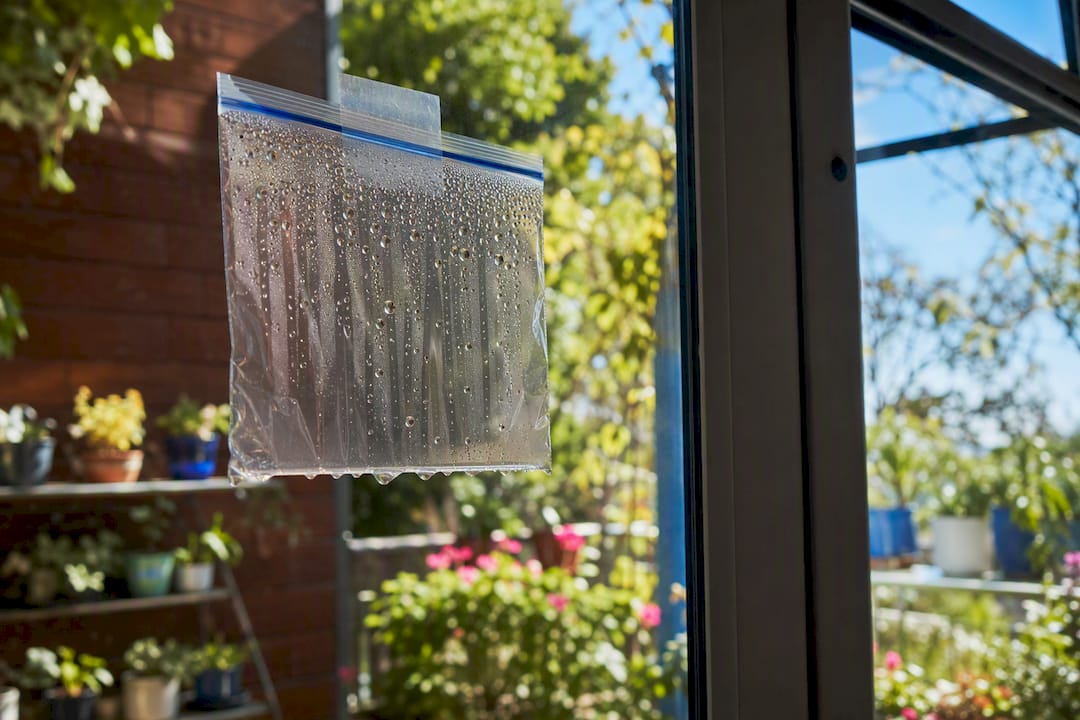
1. Water Cycle in a Bag
Materials: a clear ziplock bag, water, blue food coloring, permanent marker, tape.
Steps:
- Fill the bag about a third full with water and a few drops of blue food coloring.
- Draw a sun, cloud, and wavy water line on the outside with marker.
- Seal the bag tightly, pressing out extra air.
- Tape it to a sunny window.
- Check back every few hours for two days.
Time: 10 minutes to set up; 24 to 48 hours to observe. Age range: 5 and up, with adult help sealing the bag.
What happens and why: Water droplets collect at the top of the bag, then trickle back down the plastic. Heat from the sun evaporates water inside the sealed bag, and the cooler plastic near the top causes it to condense back into droplets, mimicking the water cycle in miniature. A poorly sealed bag or too little sunlight is the most common reason this experiment fizzles, and lesson plans built around this activity recommend 15 to 20 minutes of prep and a warm, direct light source.
2. Walking Water
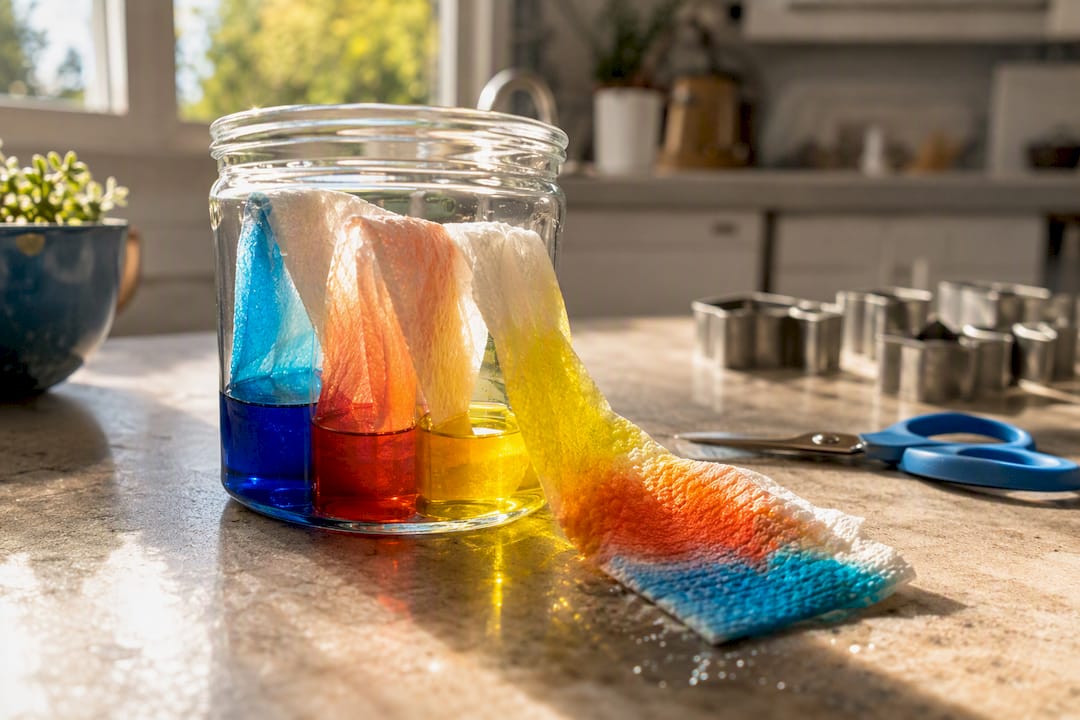
Materials: three or more clear cups, water, food coloring (red, yellow, blue), paper towels.
Steps:
- Line up cups, alternating full ones with empty ones.
- Add different food coloring to each full cup.
- Fold paper towel strips and place one end in a full cup, the other in an empty neighbor.
- Wait and watch.
Time: 5 minutes to set up; 2 to 8 hours for full color travel. Age range: 4 and up.
What happens and why: Colored water climbs up the paper towel and drips into the empty cups, mixing new colors along the way. This happens through capillary action, where water molecules cling to the paper fibers and to each other, pulling the liquid upward against gravity. Folded towels beat twisted ones because a flat fold gives water more surface contact with the paper.
3. Penny Drop
Materials: a penny, an eyedropper or pipette, water, paper towel for spills.
Steps:
- Place the penny flat on a tray.
- Predict how many drops of water it can hold before spilling.
- Add water one drop at a time.
- Count until it overflows.
Time: 5 to 10 minutes. Age range: 6 and up.
What happens and why: Water domes up well above the penny’s edge before finally spilling over, often past 20 or 30 drops. Surface tension makes water molecules stick together tightly at the surface, forming a flexible skin that resists breaking until gravity finally wins.
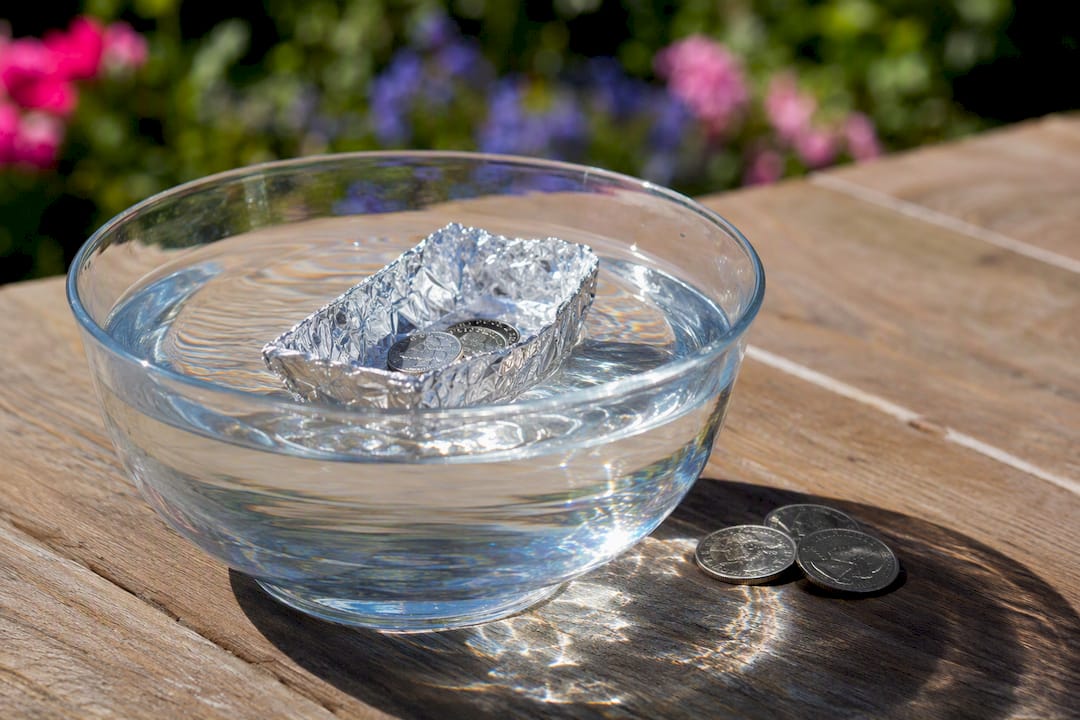
4. Sink-or-Float and Foil Boats
Materials: a bin or sink of water, assorted small objects, aluminum foil, pennies or marbles as cargo.
Steps:
- Sort objects into “will float” and “will sink” piles before testing.
- Test each one and record results.
- Shape a flat foil square into a boat.
- Load pennies one at a time until it sinks.
Time: 15 to 20 minutes. Age range: 5 and up.
What happens and why: Dense objects sink; less dense ones float, no matter their size. A flat foil sheet sinks fast, but the same foil shaped into a boat displaces more water and holds real weight before going under, which is a hands-on look at buoyancy and hull design.
5. Oil and Water With a Drop of Soap
Materials: a clear jar, water, vegetable oil, food coloring, dish soap.
Steps:
- Pour water into the jar, then add oil.
- Add a few drops of food coloring and watch it behave differently in each layer.
- Add a single drop of dish soap and stir gently.
- Observe the change.
Time: 10 minutes. Age range: 6 and up, adult nearby for the soap step.
What happens and why: Oil floats on water and refuses to mix because oil molecules are nonpolar while water molecules are polar. Dish soap works as a surfactant, a molecule with one end that grabs oil and one end that grabs water, and a small controlled dose is enough to break up the oil into tiny mixable droplets without needing anything stronger.
6. Build a Simple Water Filter
Materials: a plastic bottle cut in half, coffee filter or paper towel, sand, gravel, cotton balls, dirty water (mud mixed with tap water).
Steps:
- Turn the top half of the bottle upside down into the bottom half.
- Layer cotton, sand, then gravel inside the neck.
- Pour muddy water through slowly.
- Compare the water before and after.
Time: 20 minutes. Age range: 7 and up.
What happens and why: The filtered water comes out visibly clearer because each layer traps particles of a different size. This setup demonstrates filtration and permeability, but it does not make water safe to drink, so treat the result as a science lesson, not a survival skill.
7. Tornado in a Bottle
Materials: two plastic bottles, water, duct tape (or a tornado tube connector), glitter (optional).
Steps:
- Fill one bottle about three-quarters full with water.
- Add a pinch of glitter for visibility.
- Tape the second empty bottle mouth-to-mouth with the first.
- Flip and swirl in a circular motion, then set it down and watch.
Time: 10 minutes. Age range: 6 and up.
What happens and why: Swirling starts a vortex that drains water from the top bottle far faster than gravity alone would allow. Spinning creates a low-pressure center that pulls water down in a funnel shape, the same basic physics behind a draining sink or a real tornado’s funnel.
8. Rainbow Refraction or Shaving Cream Rain Cloud
Materials: a clear glass, water, a small mirror, sunlight (for refraction); or a clear jar, water, shaving cream, food coloring (for the cloud version).
Steps (refraction):
- Fill the glass with water and place a mirror inside at an angle.
- Set it in direct sunlight facing a blank wall.
- Adjust the angle until a rainbow appears on the wall.
Steps (rain cloud):
- Fill a jar with water and top it with a layer of shaving cream “cloud.”
- Drop food coloring onto the cloud a few drops at a time.
- Watch the color “rain” through once the cloud gets saturated.
Time: 10 to 15 minutes each. Age range: 5 and up.
What happens and why: Sunlight bends as it passes through water, splitting into the color spectrum, the same principle behind a rainbow after a storm. In the cloud version, color sits in the foam until it gets heavy enough to fall through, a simple stand-in for how a real cloud releases rain once it’s saturated with moisture.
Pro Tip: Add a drop of food coloring to any closed-system experiment like the water cycle bag or tornado bottle. Kids track exactly where the water goes without changing what’s actually happening physically.
Pro Tip: Keep a shallow tray under every experiment involving pouring or dripping. It turns any spill into a five-second wipe instead of a floor project.
What You Need and How to Keep It Safe
Most of these experiments pull from the same small pool of supplies: clear cups or jars, food coloring, paper towels, ziplock bags, aluminum foil, vegetable oil, dish soap, and either sand or coffee filters for the filtration build. None of it needs a special trip. Substitute cotton balls for gravel if you’re short on rocks, or use a mason jar instead of a plastic bottle for anything that doesn’t need cutting.
Mess control comes down to three habits: work over a tray or in the sink, keep a stack of paper towels within arm’s reach, and use washable markers on any bag or bottle you plan to label. Outdoor setups work well for the tornado bottle and foil boats, since spills there don’t matter.
A few safety rules apply across the board:
- Never let kids drink water from the filtration experiment. It looks clean but is not treated.
- Adults should handle any cutting of plastic bottles.
- Keep small parts like pennies and marbles away from children under three.
- Supervise the soap and oil demo directly. It’s not dangerous, but keep dish soap out of eyes.
- Warm window light works better than a heat lamp or stove for the water cycle bag. Skip open flames entirely.
Most experiments here need light adult involvement: setup and supervision, not constant hands-on management. The water cycle bag and tornado bottle need the most adult prep; walking water and sink-or-float are close to fully kid-run once materials are out.
Turning a Demo Into a Real Investigation
A demo becomes a science lesson the moment you ask a kid to guess first. Before running the penny drop, ask: “How many drops do you think it’ll hold?” Before the foil boat, ask: “How many pennies before it sinks?” That single prediction turns a spectacle into an actual experiment with a testable outcome.
Fair testing means changing one variable at a time. Try the water cycle bag with one taped to a sunny window and one in a shaded spot to isolate the sun’s role in evaporation and condensation. For walking water, test folded paper towels against twisted ones since pore size and surface contact change how fast capillary action pulls water upward. For foil boats, change the boat’s shape while keeping the cargo the same.
Extensions come naturally from there: graph how many pennies each boat design held, measure water cycle droplet count over three days, or have kids draw before-and-after sketches of the filtration water.
Frame the learning goals simply. Younger kids should be able to describe what happened in their own words. Older kids should be able to explain why it happened and predict what would change the outcome.
| Point | Details |
|---|---|
| Start with prediction | Ask “what do you think will happen” before every experiment to build a testable hypothesis. |
| Isolate one variable | Change temperature, material, or amount, never more than one at a time, for a real fair test. |
| Track results visually | Have kids graph, count, or sketch outcomes to turn a demo into recorded data. |
How Story and Science Work Together
Reluctant readers often need a reason to care before they’ll sit still for either a book or an experiment. A short comic scene works as that reason: kids read a few pages of a story, hit a moment where a character solves a problem with real chemistry or physics, and then get to run the same experiment themselves.
Pairing a Gravity Gang physics scene with the foil-boat density experiment gives kids a story reason to test cargo weight before they ever touch a penny. Pairing a Fizz Force chemistry scene with the oil-and-water demo does the same for polarity and surfactants. A simple routine works well at home or in class: read the scene, run the experiment, then answer one or two reflection prompts about what matched the story and what surprised them.
- Comic scene sets up the “why” before the hands-on task begins.
- Kitchen-safe experiments in each book use the same household items covered here.
- Post-experiment reflection prompts turn a fun afternoon into a reading and writing exercise too.
Why We Built Story Into the Science
Kids who call themselves “not science people” almost always mean they haven’t found the right entry point yet. A worksheet rarely gets them there. A character they’re rooting for, stuck on a problem that only a real chemistry or physics concept can solve, tends to work a lot better.
That’s the bet behind pairing narrative with hands-on tasks: the story lowers the resistance to starting, and the experiment turns curiosity into something they actually remember. It’s not a replacement for structured lesson plans like the ones from Science Buddies or Texas 4-H. It’s a different front door into the same material, built specifically for kids who’d rather skip the textbook entirely.
If you’ve got a kid who groans at “science time” but never misses an episode of their favorite show, the missing piece is usually narrative, not more instruction.
— Brainie Comics
Ready-Made Story and Experiment Pairs
If running eight separate experiments from scratch feels like a lot to organize solo, Fizz Force and Gravity Gang do the pairing work for you. Each comic bundles a chapter of story with a matching kitchen-safe experiment, a materials list, and step-by-step prompts, so you’re not hunting down instructions across five different sites.
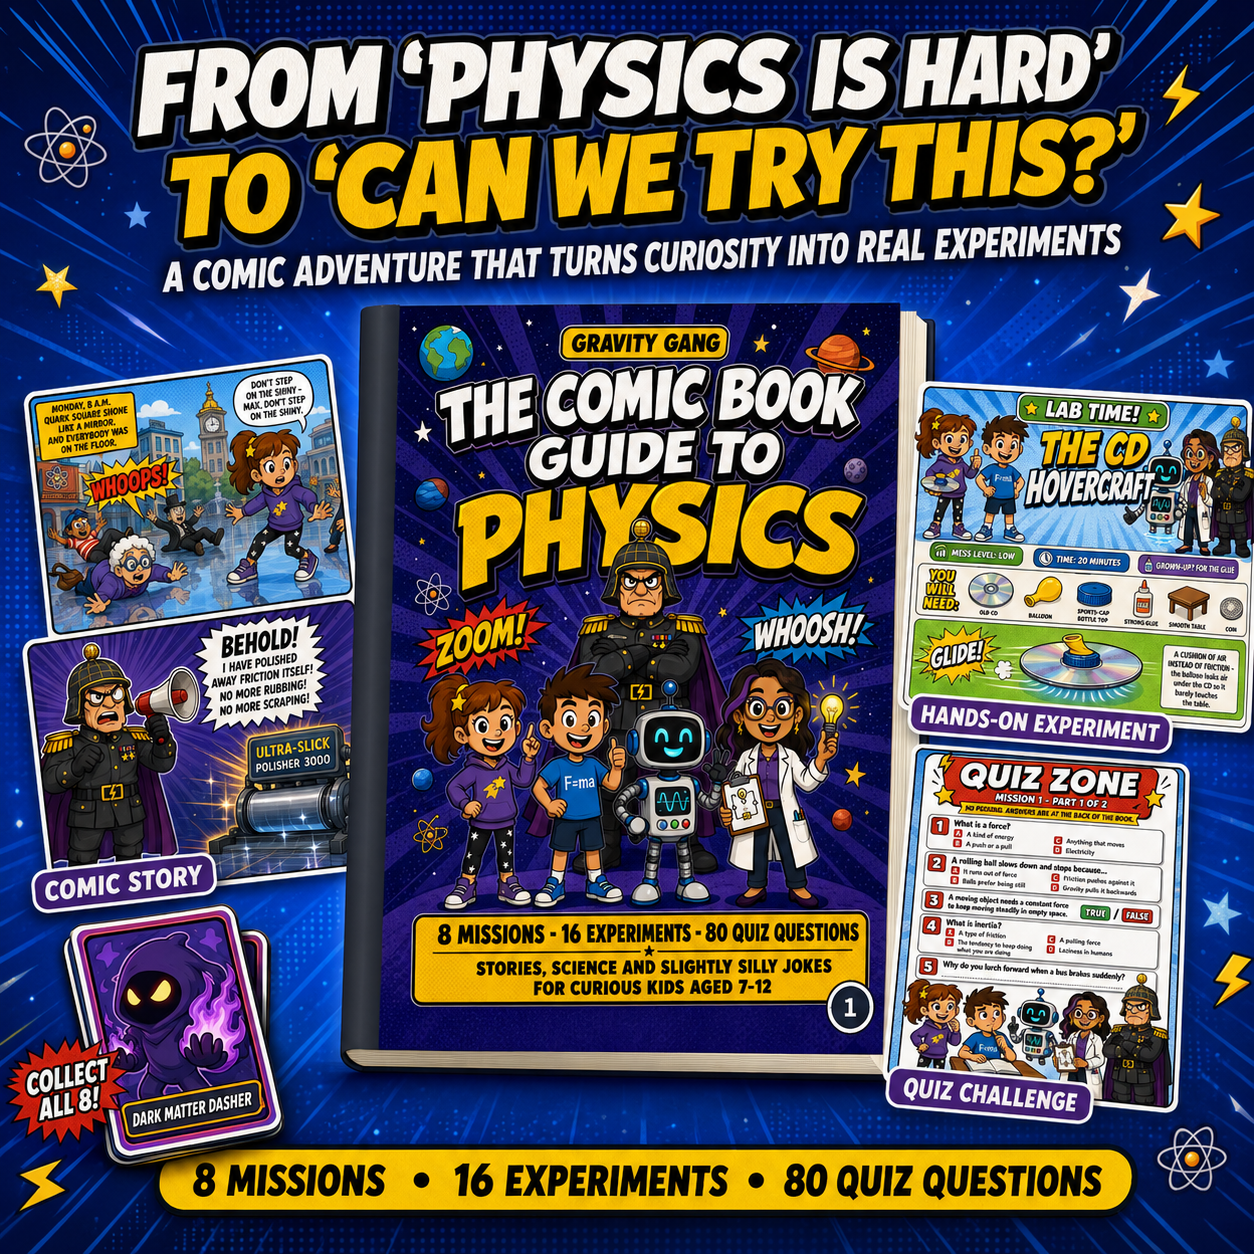
Fizz Force fits naturally with anything chemistry-flavored here: the oil-and-water surfactant demo or the filtration build both echo the chapters where characters solve problems using real reactions and mixtures. Gravity Gang leans into the physics side, with chapters that connect directly to the foil-boat buoyancy test and the tornado-in-a-bottle vortex demo. Both books include short worksheet checkpoints after each experiment, so a kid who just finished the story has a built-in way to record what they saw and why it happened. If you want to browse everything at once, the full Brainie Comics catalog lays out every title by age range and topic, chemistry or physics, so you can grab the one that matches what your kid is curious about this week.
Sources
- USGS — How much water is there on Earth?
- Science Buddies — Make a Water Cycle Model (lesson plan)
- Sesame Workshop — Science experiments using water
- Texas A&M AgriLife Extension — Water Cycle in a Bag lesson plan