

Capillary Action Experiments Kids Will Love Doing
Three capillary action experiments you can run today with stuff already in your kitchen: the Walking Water rainbow (setup 5 minutes, first color movement in about half an hour to an hour, full rainbow after letting it sit overnight), the celery or white-flower dye demo (setup 5 minutes, first color in 2–4 hours, full effect in 1–2 days), and coffee-filter chromatography (setup 5 minutes, visible color separation in 15–30 minutes). All three need only food coloring, water, and paper or plant material. Ages 5 and up can participate; scissors and cutting tools in the celery experiment need adult handling.
- Walking Water: 3–7 clear cups, paper towels, food coloring. Best for ages 5–12.
- Celery/flower dye: Clear jar, white celery or carnations, food coloring, scissors. Ages 5–12; adult cuts the stem.
- Coffee-filter chromatography: Coffee filters, washable markers, small cups, water. Ages 5–12; no sharp tools needed.
Key Takeaways
Capillary action experiments work because adhesion between water and a solid surface pulls liquid upward against gravity, and three simple demos make that force visible in under 24 hours.
| Point | Details |
|---|---|
| Best first experiment | Walking Water works for all ages and needs only cups, paper towels, and food coloring. |
| Timing reality | Visible color transfer starts in 30–60 minutes; full equilibrium takes overnight. |
| Plant connection | Celery and white flowers show xylem transport directly, supporting NGSS Life Science standards. |
| Chromatography bonus | Coffee-filter demos finish in 15–30 minutes and separate black marker into multiple colors. |
| Brainiecomics resource | Fizz Force and Gravity Gang pair these experiments with story missions for ages 7–12. |
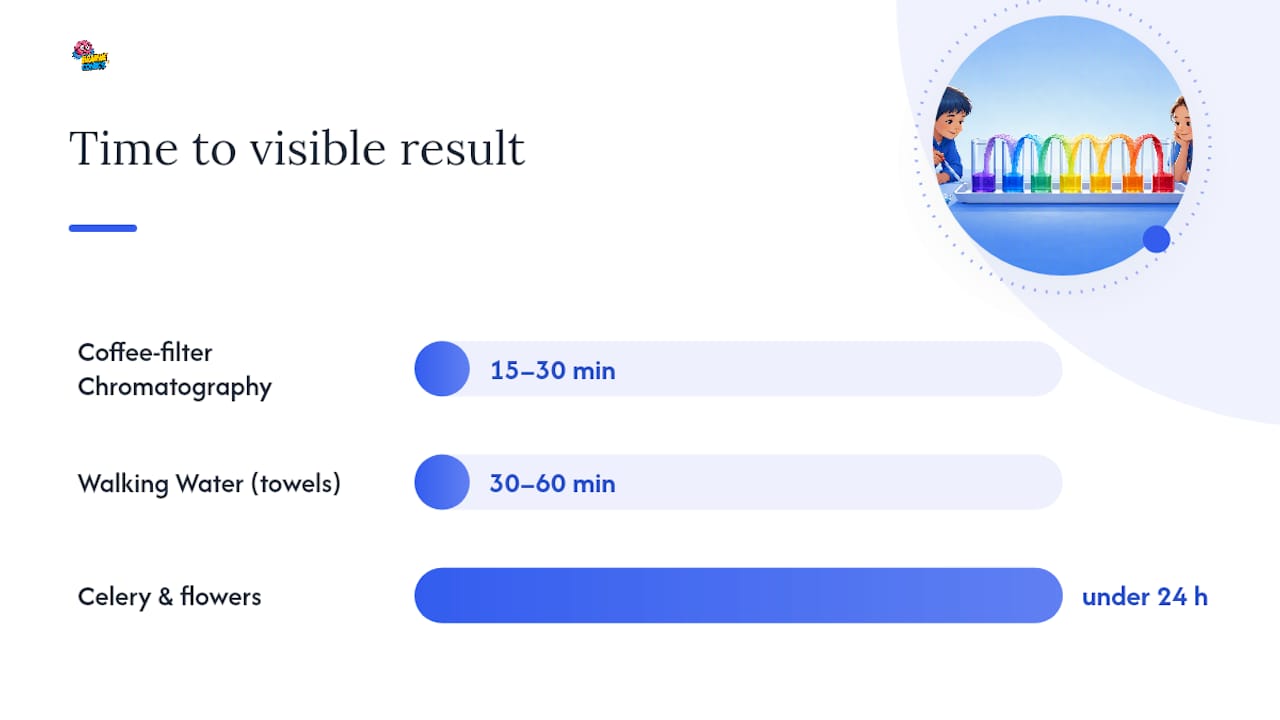
Table of Contents
- 1. Walking Water capillary action experiment: step-by-step rainbow setup
- 2. How to do the celery or white-flower color change experiment
- 3. Coffee-filter chromatography: capillary action plus color separation
- 4. Advanced demo: how tube diameter changes capillary rise
- 5. What actually makes water “walk”? Adhesion, cohesion, and surface tension explained
- 6. Practical prep, timing, and cleanup for classrooms and home
- 7. Turn experiments into missions with story prompts and printable sheets
- Why hands-on demos matter more than perfect results
- Science experiments your kids will actually finish reading about
- Sources
1. Walking Water capillary action experiment: step-by-step rainbow setup
The walking water experiment is the most visually dramatic capillary action demo you can run at home or in a classroom, and it needs almost nothing. According to Science Buddies, typical setups use 3–7 containers with folded paper towels as the wicking medium; visible transfer starts within minutes to hours but often needs overnight to fully equalize.
Materials
- 5 or 7 clear cups (odd number creates a full color wheel)
- Water
- Red, yellow, and blue food coloring
- Paper towels, cut or folded into strips roughly 1 inch wide
Steps
- Line up your cups in a row or a circle.
- Fill every other cup halfway with water. Leave the cups between them empty.
- Add food coloring: red in the first water cup, yellow in the third, blue in the fifth (or red, yellow, blue, red, yellow for a 7-cup circle).
- Fold a paper towel strip lengthwise twice to make a thick wick. Drape one end into a water cup and the other end into the empty cup beside it. Repeat for every gap.
- Watch the first few minutes for the paper towel to darken as it absorbs water. Color will reach the empty cups within 30–60 minutes.
- Ask kids: What do you notice first? What color do you think will appear in the empty cup between red and yellow?
- Leave overnight for full equilibrium. Colors will mix in the empty cups to make orange, green, and purple.
Timing and supervision: No sharp tools needed. Ages 5 and up can do every step independently except pouring boiling water (not required here).
Variations: Try a 3-cup setup (red, empty, blue) for a faster demo. Elevate the water-filled cups slightly on a book or a folded towel so gravity helps pull water down into the empty cups faster. The INL activity guide notes that elevation changes and lower-absorbency wicks both speed visible transfer when you need quicker results.
Safety and cleanup: Food coloring stains fabric and skin. Cover the table with newspaper or a plastic sheet, and keep a damp cloth nearby. Wear an apron if you have one.
Pro Tip: Use a lower-absorbency paper towel (like a single-ply shop towel) instead of a thick kitchen towel. Thinner wicks show the water “walking” more clearly because the color front moves faster and stays visible longer.
2. How to do the celery or white-flower color change experiment
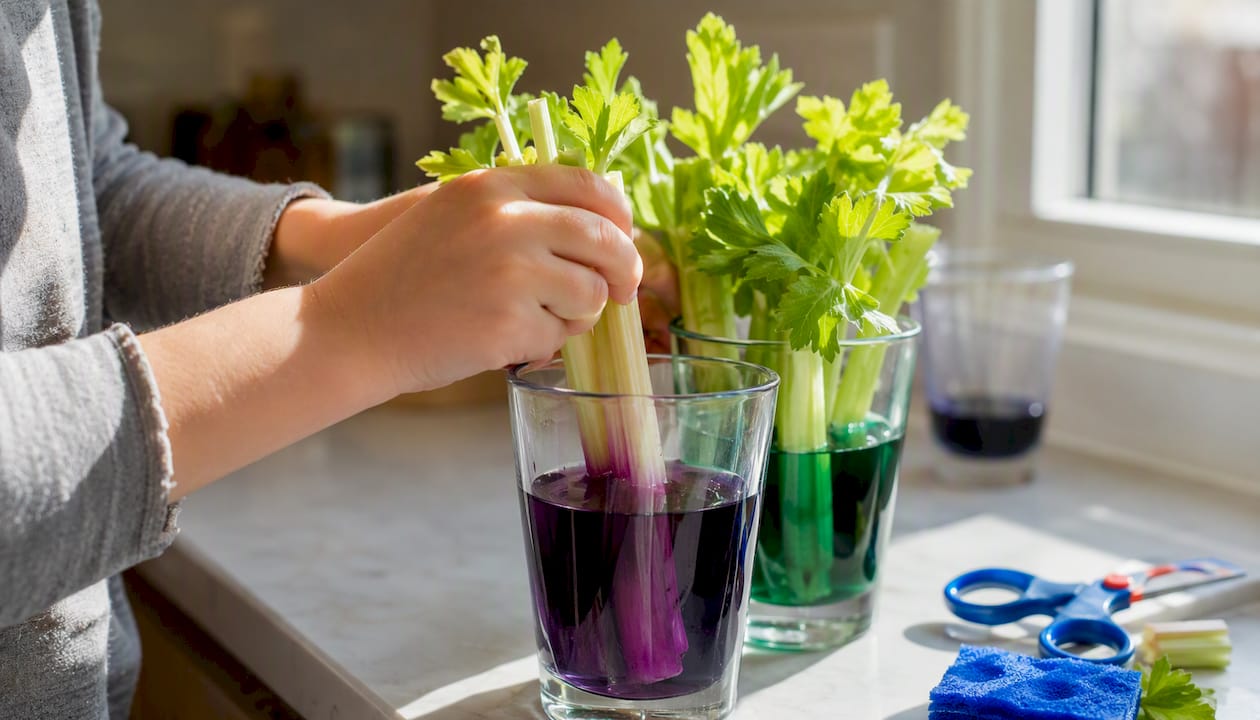
This is the experiment that makes plant biology click. Kids watch color travel up a living stem in real time, which is exactly how water moves through every plant they have ever seen. The RHS education resource confirms that celery stalks and cut white flowers in colored water visibly demonstrate xylem transport, making this one of the most classroom-friendly plant science demos available.
Materials
- 1–2 clear jars or glasses
- White celery stalks with leaves attached, or white carnations (white daisies work too)
- Food coloring (red and blue give the clearest results)
- Scissors or a sharp knife (adult use only)
- Optional: magnifying glass or simple microscope
Steps
- Fill each jar with about 4 inches of water. Add 20–30 drops of food coloring and stir. The water should be deeply colored.
- Have an adult cut the bottom of each celery stalk or flower stem at a 45-degree angle. A fresh diagonal cut exposes more xylem tubes and speeds absorption.
- Place each stem immediately into the colored water. Don’t let the cut end dry out between cutting and placing.
- Set the jars in a bright spot (near a window is ideal) and check every 2 hours.
- First signs: the edges of celery leaves or the outer petals of flowers will show color within 2–4 hours. Full color saturation takes 1–2 days.
Observation questions: Where does the color appear first? Can you see the colored lines inside the celery stalk if you cut it crosswise? Why do you think the color travels up instead of down?
NGSS connection: This activity supports Next Generation Science Standards for Life Science (LS1.A: Structure and Function) at grades 3–5, connecting plant structure to the function of water transport.
Variations: Split a celery stalk partway up the middle and place each half in a different color. The leaves will show two colors. Try comparing a fresh stalk to one that sat out for an hour before cutting — the fresh cut absorbs faster.
Safety: Adult supervision required for all cutting. Food coloring will stain countertops and clothing. Rinse jars promptly after the experiment.
3. Coffee-filter chromatography: capillary action plus color separation
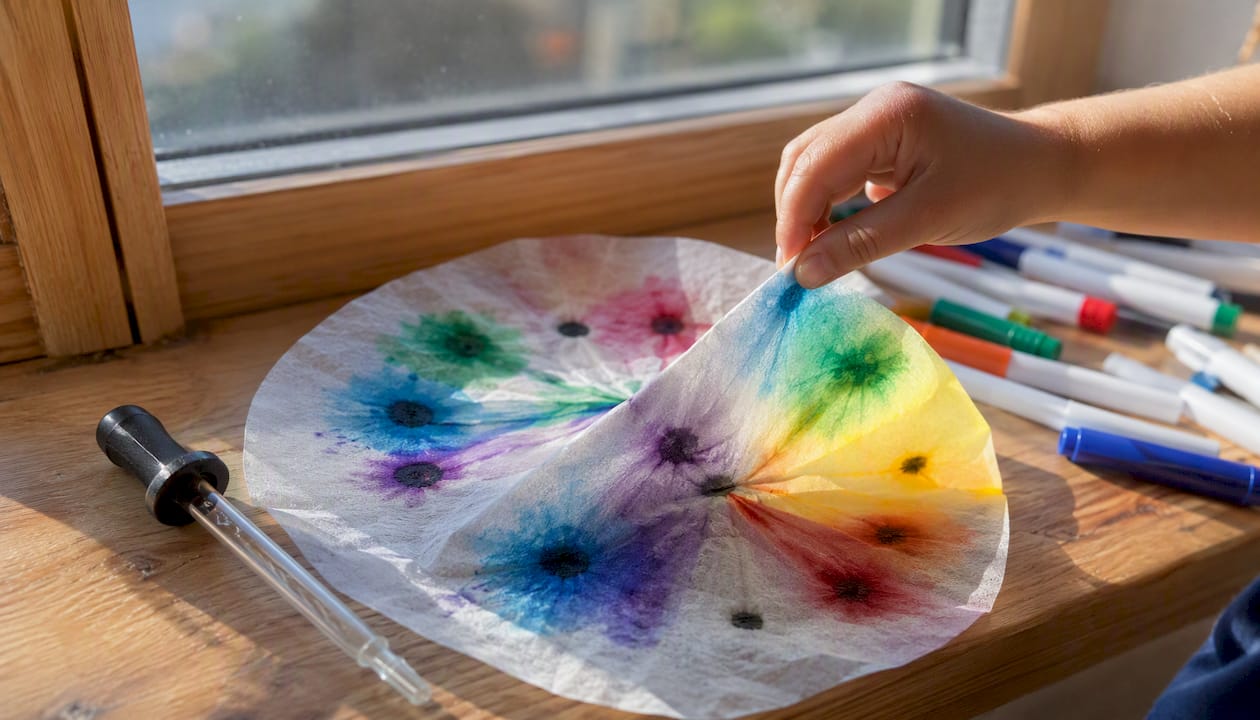
This one finishes the same day, produces a beautiful wearable or displayable result, and teaches two concepts at once: capillary action and basic chromatography. The Ontario Science Centre explains that as water moves up the paper, it dissolves marker ink and carries different pigment molecules at different rates, creating separated color bands.
Materials
- Round basket-style coffee filters (flat filters work too)
- Washable markers in several colors (black is the most surprising)
- Small clear cups or glasses
- Water
- Pencil or clothespin to hang the filter
Steps
- Flatten a coffee filter and draw a thick ring of marker color about 1 inch from the bottom edge. Use one color per filter, or layer two colors in the same ring.
- Pour about half an inch of water into a cup.
- Fold the filter into a cone or accordion shape so the bottom tip just touches the water. The marker ring should sit above the waterline.
- Watch. Within 5–10 minutes, water will climb the filter and carry pigment upward. Colors separate into distinct bands as different molecules travel different distances.
- When the water reaches the top (about 15–30 minutes), remove the filter and let it dry flat.
What to ask kids: Did the black marker stay black, or did it split into other colors? Which color traveled the farthest? Why do you think different colors stop at different heights?
Why colors separate: Pigment molecules vary in size and how strongly they bond to the paper fibers. Smaller, less “sticky” molecules travel farther with the water. Larger or more adhesive molecules stop sooner.
Extensions:
- Fold dried filters into flower shapes for an art project. These make great classroom decorations.
- Compare washable markers to permanent markers (permanent inks are oil-based and won’t travel with water).
- For older kids with adult supervision, test rubbing alcohol as the solvent instead of water. Alcohol separates different pigments than water does.
Safety and cleanup: Stick to washable markers and water for kids under 10. Rubbing alcohol is for older students with direct adult supervision only. Filters dry quickly and leave almost no mess.
4. Advanced demo: how tube diameter changes capillary rise
For students in grades 5 and up, measuring actual capillary rise in tubes of different diameters turns a visual demo into a real inquiry activity. TeachEngineering’s capillary action activity shows that the height liquid rises in a capillary tube is inversely related to tube radius: narrower tubes pull liquid higher. That relationship is the core of the capillary rise formula h = 2γ cos θ / (r ρ g), where r is the tube radius. You don’t need to teach the full equation to make the concept land — just ask students to predict what happens as tubes get narrower, then measure.
Materials
- Capillary tubes in 2–3 different diameters (available from science supply stores; glass straws work as a substitute)
- Dark food-colored water (dark blue or red shows the meniscus clearly)
- Ruler
- Support stand or a piece of clay to hold tubes upright
- Safety goggles (required for glass tubes)
Steps
- Set up tubes vertically in the support stand, labeled by diameter.
- Lower each tube into the colored water simultaneously and hold steady.
- After 2 minutes, measure the height of the water column inside each tube from the waterline to the bottom of the meniscus.
- Record results, then repeat each trial twice to check consistency.
Data table template
Safety: Glass capillary tubes are fragile. Instructors should pre-cut tubes and distribute them already mounted. Students should wear goggles and never apply lateral pressure to glass tubes. Dispose of broken glass in a puncture-resistant container.
Pro Tip: Use dark food coloring and a bright flashlight held behind the tube to make the meniscus easy to see and photograph. Photographing each trial lets students compare results without rushing the measurement.
The Spark IOP capillary action resource provides the full equation and additional guidance for safe glass-tube handling in classroom settings.
5. What actually makes water “walk”? Adhesion, cohesion, and surface tension explained
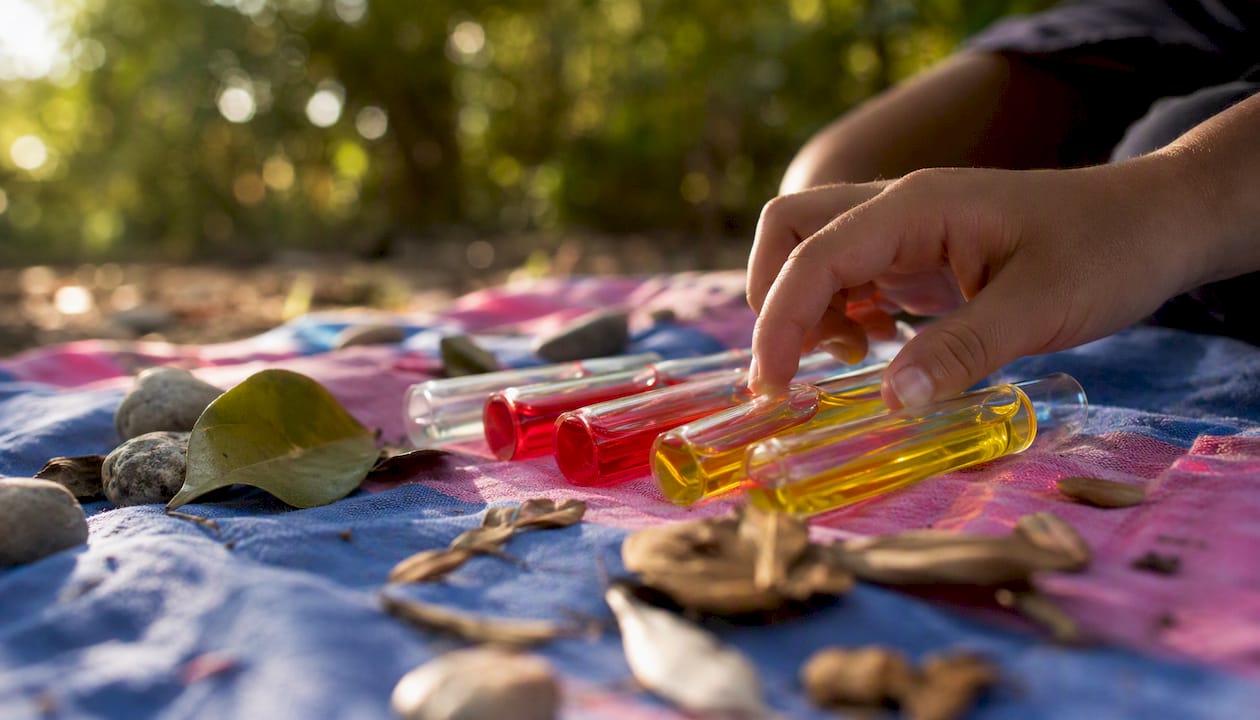
Capillary action happens because water molecules are attracted to two things at once: each other, and the surfaces around them. The attraction between water molecules is called cohesion. The attraction between water molecules and a solid surface (like paper fibers or a plant cell wall) is called adhesion. When adhesion is stronger than cohesion, water climbs. That’s the whole mechanism.
Surface tension is the skin-like layer at the top of any water surface, caused by cohesion pulling surface molecules inward. It’s what lets a paper clip float if you set it down gently, and it’s what forms the curved meniscus you see at the top of water in a narrow tube.
In plants, water travels through microscopic tubes called xylem, which are narrow enough that adhesion and cohesion together can pull water from roots to leaves against gravity. The celery and flower experiments make this visible.
Everyday places capillary action shows up:
- Paper towels absorbing spills
- A paintbrush holding paint between its bristles
- Tear ducts draining fluid from your eyes
- Soil pulling water upward toward plant roots
- Fabric wicking sweat away from skin
For a quick surface tension demo that pairs well with any of these experiments, try the penny drop test: count how many drops of water fit on a penny before it spills. Then add one drop of dish soap and try again. The soap acts as a surfactant, reducing surface tension and changing how water behaves on the coin’s surface.
Pro Tip: Describe water polarity to older kids (ages 9–12) as water molecules having a tiny positive end and a tiny negative end, like a magnet. The positive end of one molecule pulls toward the negative end of another — that’s cohesion. When the positive end pulls toward a glass or paper fiber instead, that’s adhesion. This framing connects the visible experiment to molecular chemistry without heavy vocabulary.
6. Practical prep, timing, and cleanup for classrooms and home
Running three experiments in a row with a group of kids is manageable with a little prep. Here’s what makes it work.
Cross-experiment materials list
Most of what you need is already in your kitchen: clear cups or jars, paper towels, coffee filters, food coloring, washable markers, scissors, and water. For the advanced tube demo, capillary tubes are the only specialty item.
Before you start
Cover every surface with newspaper or a plastic tablecloth. Pre-mix colored water in labeled pitchers so kids can pour without spilling concentrated dye. Set up stations for each experiment so groups can rotate. Write the observation questions on a whiteboard or index cards at each station.
Managing wait times
The walking water experiment and the celery demo both have long wait periods. Use that time productively: have kids draw predictions in an observation journal, sketch what they think the color will look like in 2 hours, or write one question they want answered. The chromatography experiment finishes fast enough to use as a “while you wait” activity.
Cleanup checklist
- Rinse all cups and jars immediately; food coloring sets quickly on plastic.
- Wipe surfaces with a damp cloth before the dye dries.
- Dispose of plant material (celery, flowers) in compost or trash.
- Store unused colored water in labeled containers if you plan to run the experiment again the next day.
For groups younger than 7, skip the celery cutting entirely and use pre-cut stalks. For groups older than 10, the advanced tube demo adds a measurement challenge that keeps faster finishers engaged.
7. Turn experiments into missions with story prompts and printable sheets
The single biggest engagement problem with science experiments isn’t the science — it’s the waiting. Kids lose interest between setup and results. Story hooks solve this.
Mission prompts to try
- “The Water Squad needs your help! The dry flower in the lab needs water, but the path is blocked. Can you build a paper-towel bridge to walk the water across?” (Walking Water)
- “A plant scientist discovered a mysterious plant that changes color. Your mission: figure out how water travels inside it.” (Celery/flower)
- “A secret message is hidden in the ink. Use water to reveal which colors were mixed together.” (Chromatography)
Printable activity ideas
- Observation journal pages with “Before / During / After” sections and space to draw
- Color-mixing prediction charts (what color do you think red + yellow will make?)
- A simple two-column data sheet for the tube demo (diameter vs. rise height)
- A completion certificate for finishing all three experiments
Differentiating by age
For ages 5–7, keep questions concrete: What color do you see? Is the water moving up or down? For ages 8–12, add measurement and prediction: How high do you think the water will climb in 10 minutes? Write a number, then check.
Pro Tip: Give each child a “scientist badge” role — one is the Timer, one is the Observer, one is the Recorder. Roles reduce chaos and give every kid a reason to stay engaged during the wait.
Brainiecomics’s Gravity Gang and Fizz Force comic books use exactly this story-mission format, pairing each experiment with a narrative that gives kids a reason to care about the result before they even start.
Why hands-on demos matter more than perfect results
The goal of a capillary action experiment isn’t a flawless rainbow or a perfectly colored carnation. It’s the moment a child asks, “Wait, how did the water get up there?” That question is the whole point.
Small experiments build observation habits that carry forward. A child who learns to watch for the first color change in a paper towel, and then asks why it happened, is practicing the same skill a scientist uses. The question matters more than the answer.
Ask predictive questions before you start: “Which cup do you think will fill first? Why?” Write the prediction down. When the result differs from the prediction, that’s not a failure — it’s the most interesting moment in the experiment. Use it.
For parents running this at home: aim for curiosity and conversation, not a clean result. A spilled cup of colored water that leads to a 10-minute conversation about why paper towels absorb liquid is a better science lesson than a perfect rainbow that nobody talked about.
Science experiments your kids will actually finish reading about
Most experiment guides stop at the cleanup. Brainiecomics goes further: Gravity Gang and Fizz Force are comic books for kids ages 7–12 that pair real physics and chemistry experiments with story-driven missions, so children have a reason to read, predict, and try again.
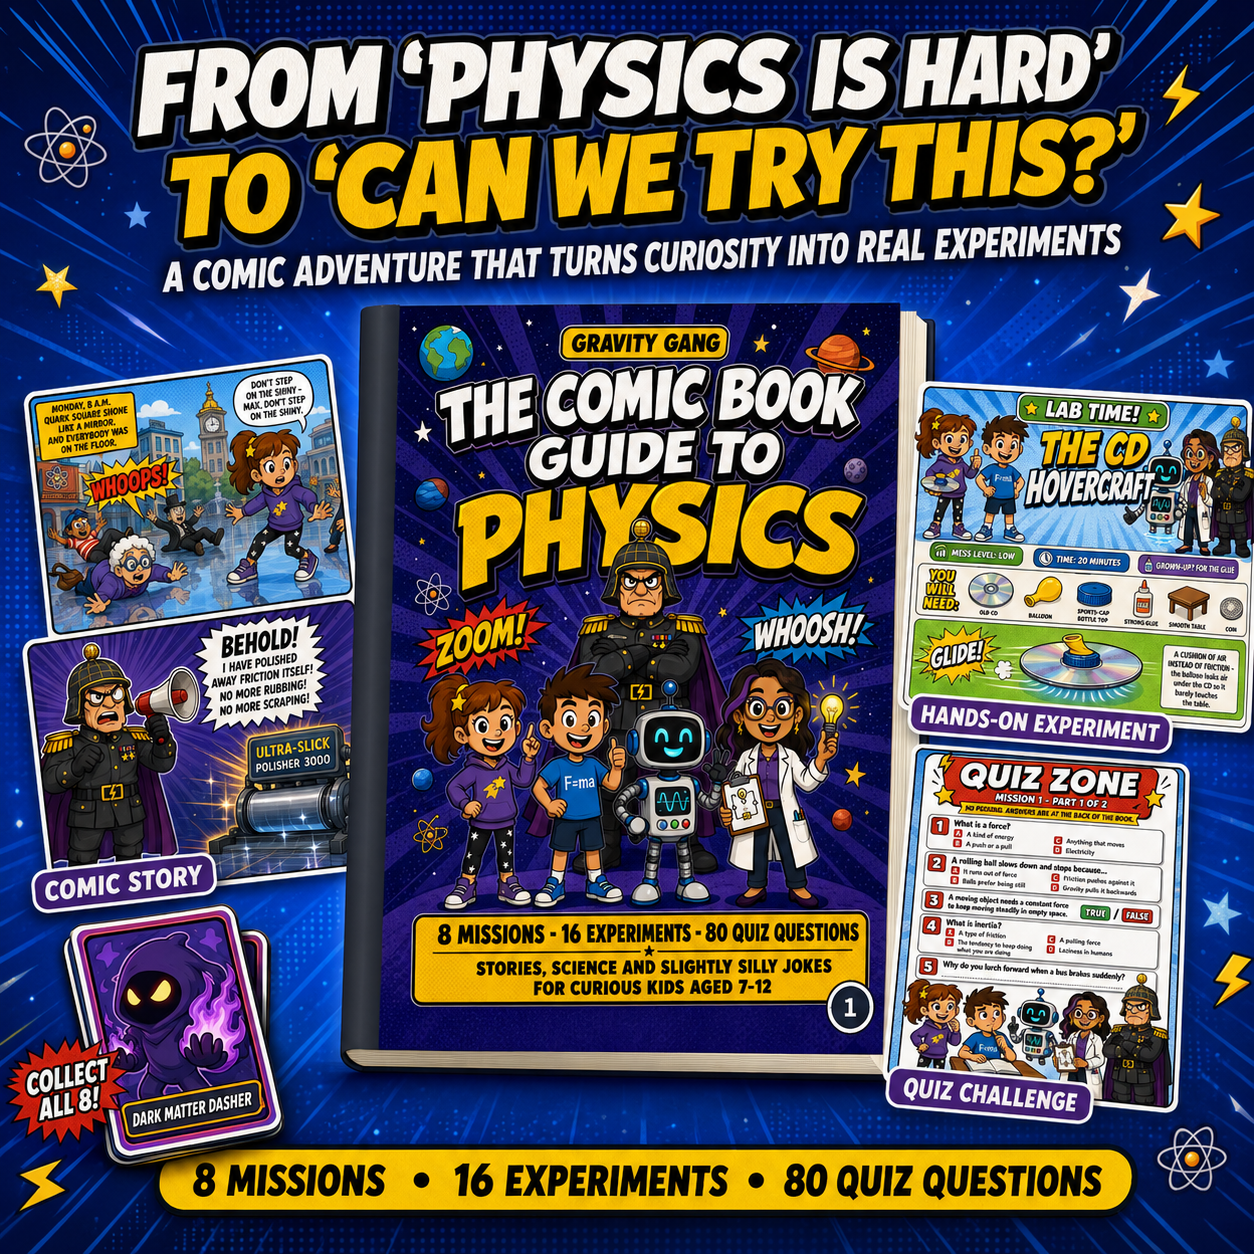
Each book includes a comic story, step-by-step kitchen-safe experiments using household materials, printable mission sheets, and a completion certificate. The experiments in Fizz Force connect directly to surface tension and chromatography concepts covered in this guide. Both books are classroom-suitable and work equally well for home learning.
Kids who read Gravity Gang or Fizz Force don’t just do the experiment once. They want to know what happens next. Brainiecomics and give them a science story they’ll finish.
Sources
These are the primary sources used throughout this guide. Each one is worth bookmarking if you plan to run these activities in a classroom or repeat them at home.
- Colorful Capillary Action “Walking Water” | STEM Activity
- Walking water / RHS
- Exploring Capillary Action - Activity - Teach Engineering
- Colorful Coffee Filter Experiment: Defy Gravity with Capillary Action
- Make Colorful Walking Water (activity PDF)