

Screen Free Sound Lessons: 8 Experiments for Kids, Parents & Teachers
Eight household experiments turn sound from an invisible mystery into something kids can see, feel, and measure: a rubber band guitar for pitch, straw oboes for resonance, singing water bottles for frequency, cardboard tubes for tone separation, a sprinkle-topped membrane for amplitude, paper cups for timbre, a balloon speaker for amplification, and a coat-hanger “head harp” for feeling vibration travel through solids. Each can be done quickly with supplies commonly found in most kitchens, and every one needs an adult nearby for the cutting and blowing parts.
TL;DR:
- Shorter, tighter rubber bands or straws produce higher pitches, confirmed by frequency-measuring apps that show the direct relationship between tension, length, and sound.
- Variations in tube length or water levels visibly change pitch, linking physical changes to resonance and natural frequency, especially in pan pipes and water bottle experiments.
- Reinforcing sound vibrations through solid objects like coat hangers or spoons demonstrates how vibrations travel through solids into the skull, creating a tactile sense of sound transmission.
- Repeating experiments with different materials or twists, such as tuning water bottles into a scale, helps children retain concepts and connect science to real-world questions or stories.
- Most activities can be done with household items, but safety precautions are necessary with small parts, glass containers, and loud noises, and background noise can hinder subtle pitch detection.
Table of Contents
- Sound Experiments For Kids: 8 Easy Activities By Age
- What Is Sound, Really? Vibration, Pitch, And Resonance
- Getting Set Up: Materials And Safety Basics
- Step-By-Step: Six Experiments With Troubleshooting And Extensions
- Adapting These Experiments For Classrooms And Different Ages
- Why Brainiecomics Pairs Story With Kitchen Science
- What Actually Makes Sound Experiments Stick
- Turn One Experiment Into A Full Science Adventure
- Where These Experiments Come From
- Sources
- FAQ
Sound Experiments For Kids: 8 Easy Activities By Age
Pick an experiment based on what you want a child to notice, not just what looks fun. Some activities are built for a five-year-old’s attention span; others reward a fourth grader who can measure and record results.
- Rubber band guitar. Stretch rubber bands of different thicknesses across an open tissue box and pluck them. Kids ages 5 to 8 hear how tighter, shorter bands produce higher pitches almost instantly, since tension and vibrating length both control frequency.
- Musical straws (straw oboe). Flatten one end of a straw into a reed shape, snip the corners, and blow. Ages 6 to 10 can then trim the straw shorter to hear the pitch climb, a direct demonstration of how a shortened air column changes the standing wave inside it.
- Singing glasses or water bottles. Run a wet finger around a glass rim, or blow across a bottle’s neck, then add or remove water. Ages 5 to 10 see pitch shift in real time and can chart water height against sound.
- Cardboard tube pan pipes. Line up tubes cut to different lengths and tap or blow across the ends. This works well as a classroom display for ages 6 to 10, since longer tubes clearly ring at lower pitches than short ones.
- Dancing sprinkles vibration visualizer. Stretch plastic wrap over a bowl, sprinkle rice or table salt on top, and place a speaker or hum nearby. Kids from kindergarten through fifth grade watch louder sounds bounce the sprinkles higher, which makes amplitude visible instead of abstract.
- Paper cup instruments. Poke a string through a cup bottom, knot it, and pull the string taut to make a “chicken squawk,” or simply tap different-sized cups to compare tone. This is a fast, mess-free demo for ages 5 to 8.
- Balloon or paper-cone amplifier. Cut a balloon and stretch it over a cup to build a simple drum, or roll paper into a cone to amplify a whisper. Ages 7 to 10 can compare how different materials change loudness and clarity.
- Secret bells head harp. Tie a metal spoon or hanger to the middle of a string, wrap the string ends around a finger, plug the ears, and let the spoon swing into a table edge. Ages 6 and up feel the vibration travel up the string into their skull, a striking way to show sound moving through a solid instead of air.
What Is Sound, Really? Vibration, Pitch, And Resonance
Sound is energy released by something vibrating, and that vibration has to travel through a medium, air, water, or a solid, to reach an ear. Push a rubber band and it wobbles back and forth; that wobble shoves air molecules, and those bumps ripple outward until they hit an eardrum.
How fast something vibrates is its frequency, and frequency is what a child hears as pitch. A short, tight rubber band whips back and forth quickly and sounds high; a long, loose one flaps slowly and sounds low. Loudness works differently. That’s amplitude, how far the vibration swings, not how fast. Think of a playground swing: pushing it faster changes almost nothing about pitch, but pushing it harder makes a bigger, louder arc.

Resonance explains why tube length matters so much in these experiments. Every column of air has a natural frequency it “wants” to vibrate at, the same way a wine glass rings at one particular pitch when you strike it. Change the tube’s length and you change which frequency gets reinforced, which is exactly why a longer straw sings lower than a short one. A free phone frequency app or a basic sound visualizer lets kids confirm what they’re hearing with an actual number on a screen.
Getting Set Up: Materials And Safety Basics
Almost everything on this list comes from a recycling bin or a junk drawer. Save empty tissue boxes, cardboard tubes, and water bottles for a week before running these activities, and you’ll rarely need to buy anything beyond rubber bands and straws.
- Empty tissue box, rubber bands (several widths), straws, paper or plastic cups, balloons, empty water bottles or drinking glasses
- Tape, scissors, a marker for labeling tube lengths, and string for the head harp
- A smartphone with a frequency or decibel app, useful for measuring rather than just guessing at pitch
- A quiet room, since background noise from a TV or open window drowns out the subtler pitch differences in tube and straw experiments
Scissors and small parts mean these activities are adult-supervised, not drop-off projects, especially with kids under 7. Skip glass containers with younger children and use plastic bottles instead, and keep any “loud” experiments, like the paper cone amplifier, at a reasonable volume since sustained loud noise can bother sensitive ears.
Pro Tip: If a room is too noisy to hear the pitch shift in the straw oboe or singing glasses, have kids cup a hand around one ear or listen through a cardboard tube. Isolating the ear like this filters out ambient noise and makes subtle frequency changes far easier to catch.
Step-By-Step: Six Experiments With Troubleshooting And Extensions
These six deserve slower, more detailed instructions because they’re the ones most likely to go sideways on a first try, and each has a simple fix once you know what’s wrong.
- Rubber band guitar. Stretch three or four rubber bands of different widths across an open tissue box so they cross the hole. Pluck each one and listen, then tighten a band by stretching it further and pluck again. A phone frequency app will show the number climbing as tension increases, confirming what Science Buddies documents: shorter, tighter vibrating segments produce higher frequencies. If the sound comes out dull or thuddy, the band is probably too loose or the box’s sound hole is blocked, so check both before assuming the setup failed. For an extension, thread a pencil under the bands to raise them off the box, then slide the pencil to shorten the vibrating length like a guitar fret.
- Straw oboe. Flatten the last half inch of a straw with your teeth or fingers, then snip the corners off to form a pointed reed. Put the flattened end in your mouth, seal your lips around it, and blow firmly. If nothing happens, the seal usually isn’t tight enough, or too little of the flattened part is inside the mouth. Once it squeals reliably, snip an inch off the far end and blow again; the pitch rises because the shorter air column resonates faster. Extend it by sliding a slightly wider second straw over the far end and pulling it in and out, trombone style, to slide the pitch smoothly.
- Singing glasses or water bottles. For the glass version, wet a fingertip and drag it slowly around the rim under light pressure until it sings. For bottles, blow gently across the mouth of the bottle rather than into it. Fill several bottles to different heights and blow across each one, or mark water levels and record the pitch at each mark. Glass rims can chip, so keep this one supervised and skip it with children under 6. As an extension, tune four or five bottles to a simple do-re-mi scale and let kids play a short tune by tapping them with a spoon.
- Cardboard tube pan pipes. Cut four or five paper towel tubes into a range of lengths, from about four inches to over a foot, and label each with its length. Hold one end near your mouth and blow across the opening, or hum into it, and compare tones across tubes. Background noise is the biggest problem here since it masks the quieter resonant tone. Move to a quiet corner if the classroom is loud, and note that closing off one end of a tube lowers its resonant pitch even further, which is worth demonstrating side by side. Cutting the tubes to a geometric progression of lengths, rather than random ones, produces a more evenly spaced set of pitches for a classroom pan-pipe display.
- Dancing sprinkles vibration visualizer. Stretch plastic wrap tightly over a mixing bowl and secure it with a rubber band, then scatter a spoonful of rice or salt on top. Place a phone speaker playing a steady tone close to the membrane, or have a child hum directly at it. Watch the grains jump when the volume increases; a limp or loose membrane won’t transmit much movement, so re-stretch it tighter if the sprinkles stay still. Using a recorded tone or a metronome, rather than varying humming, makes it easier to compare trials fairly. Record a slow-motion video on a phone to count how many times the grains bounce per second at different volumes.
- Secret bells head harp. Tie a metal spoon or a wire coat hanger to the center of a two-foot piece of string. Wrap each loose end around an index finger, plug both ears by pressing the wrapped fingers against them, and lean forward so the spoon swings and taps a table edge or chair. The sound arrives as a deep, bell-like gong, felt through the string into the bones of the hand and skull rather than heard through the air. If the effect feels weak, the string is likely slack or wrapped too loosely to carry the vibration. Compare a metal hanger to a wooden spoon or a baking rack to hear how different materials change the tone.
Pro Tip: Run any pitch-comparison experiment in pairs of trials rather than once. A single pluck or blow can be noisy or inconsistent, and averaging two or three attempts gives kids a more reliable result to record, which is standard practice in any real measurement lab.
Adapting These Experiments For Classrooms And Different Ages
Kindergarten and first grade need fewer variables and simpler recording. Skip the measurement steps for that age band and focus on one clear before-and-after comparison, like plucking a loose band, then a tight one, and asking which sounds higher. Fourth through sixth graders can handle actual data collection: charting water height against pitch, timing sprinkle bounces, or graphing tube length against tone.
- For grades K to 2, use observation sheets with simple drawings (“draw the sound as high or low”) instead of numbers or writing.
- For grades 4 to 6, require a one-line claim, evidence, and reasoning statement, such as “The shorter straw made a higher pitch because the air column vibrated faster.”
- Run six or seven activities as rotating stations for a full class, giving each group 8 to 10 minutes per station rather than one long whole-group demo.
- Build in five minutes of cleanup time per station, since straws, rubber bands, and water spills add up fast across a classroom.
- Tie the unit to standard learning goals around waves and their applications, cause-and-effect relationships in vibration, and designing simple instruments to test a hypothesis, all common threads in sound-focused lesson collections.
A checklist works better than a rubric for this age range: did the student identify which variable changed, describe what happened to the sound, and offer one reason why. That’s enough evidence of understanding without turning a fun afternoon into a test.
Why Brainiecomics Pairs Story With Kitchen Science
Kids remember experiments better when they’re wrapped in a story instead of handed as a worksheet. Brainiecomics’ comic books, including Gravity Gang and Fizz Force, teach physics and chemistry concepts through narrative adventures built around real kitchen experiments using household materials. The household science experiments featured across Brainiecomics content follow the same screen-free, hands-on approach these sound activities use.
What Actually Makes Sound Experiments Stick
Most sound-science advice treats these activities as one-off demos: do the rubber band guitar once, check the box, move on. That undersells what’s actually valuable here. The kids who remember pitch and resonance months later are the ones who repeated an experiment with a twist, comparing a metal hanger to a wooden spoon in the head harp, or tuning five water bottles into an actual scale instead of stopping at “the pitch changed.”

The conventional classroom version also leans too hard on vocabulary before experience. Handing a nine-year-old the word “frequency” before they’ve felt a spoon’s vibration buzz through their own finger bones gets the order backward. Feel first, name it second.
If there’s one thing to prioritize, it’s connecting the science to a story or a question the child actually cares about, not just a procedure to complete. That’s the gap between an experiment that gets forgotten by dinner and one that gets brought up again a week later.
— Brainie Comics
Turn One Experiment Into A Full Science Adventure
You just ran a rubber band guitar or a straw oboe with whatever was in the kitchen drawer, and it worked. Brainiecomics builds on exactly that moment: instead of a single afternoon activity, Gravity Gang and Fizz Force wrap dozens of hands-on, kitchen-safe experiments inside comic book adventures that reluctant readers actually want to finish, no extra prep beyond what’s already in most pantries.
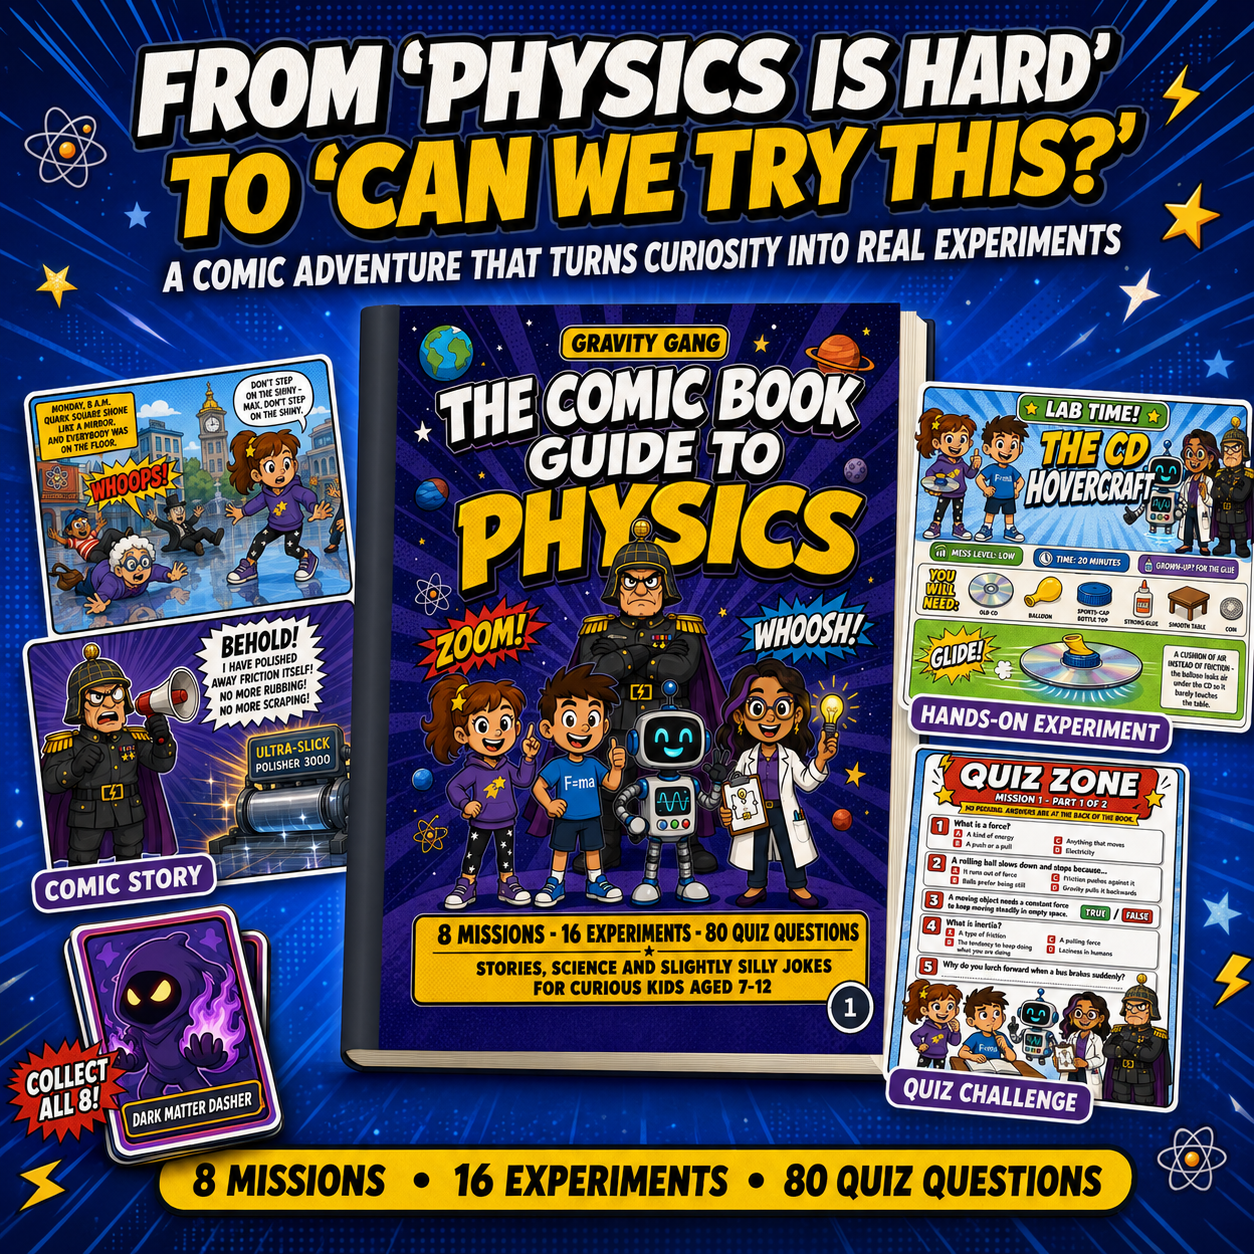
Each book pairs its story with real physics or chemistry concepts and interactive experiments, so a kid who lit up over a singing water bottle gets a whole narrative built around asking “why” the next ten times too. They are built for exactly the kind of curious, hands-on learner these sound experiments tend to reveal. Browse both titles on the Brainiecomics collection page and pick the one that matches what lit your child up first, physics or chemistry.
Where These Experiments Come From
These activities and their underlying science come from established hands-on science sources: the Exploratorium’s Snacks collection for tested exhibit-style activities, Science Buddies for classroom lesson pages with NGSS tie-ins, and The Physics Classroom for lab-level measurement guidance. Each is worth a visit for deeper background or a formal classroom rubric.
Sources
- Make a Rubber Band Guitar — Science Buddies
- Straw oboe — Exploratorium
- Open end air column / Speed of sound lab — Physics Classroom
FAQ
What Are 10 Easy Science Experiments For Kids?
Beyond the several sound experiments, including rubber band guitars, straw oboes, singing water bottles, cardboard tube pan pipes, and a plastic-wrap vibration visualizer, cover pitch, resonance, and amplitude using items commonly found at home. Paper cup instruments and a coat-hanger head harp round out a set that needs no special equipment beyond scissors and string.
What Are Some Fun And Engaging Sound Activities For Kids?
The most engaging options combine sound with something visible, like the dancing sprinkles visualizer, where louder sounds bounce grains of rice higher off a plastic-wrap membrane. Tunable activities, like arranging water bottles into a simple scale, also hold attention longer because kids can play with the result instead of just observing it once.
Can You Show Me An Experiment To See Sound?
Stretch plastic wrap tightly over a bowl, scatter a spoonful of rice or salt on top, and play a tone or hum near the membrane. The grains jump visibly with louder sounds, turning invisible sound waves into something a child can watch bounce in real time.
What Objects Can Make Sound?
Almost anything that vibrates can make sound, including rubber bands, straws, glass rims, water-filled bottles, cardboard tubes, and metal spoons or hangers. Each material vibrates at a different natural rate depending on its length, tension, and stiffness, which is exactly why a rubber band guitar and a straw oboe produce such different tones from similarly simple setups.