

Parents & Teachers: 3% Peroxide Elephant Toothpaste That Teaches
Elephant toothpaste for kids is one of the safest “big reaction” science demos you can run at home or in a classroom, as long as you stick with 3% household hydrogen peroxide, dry yeast, and dish soap instead of higher-strength versions. With adult supervision, goggles, and a tray to contain the mess, kids get a genuinely dramatic eruption of warm, colorful foam without any real danger. Expect a fast, satisfying show, not a chemistry-lab risk.
TL;DR:
- Using 3% hydrogen peroxide ensures the reaction remains safe and manageable for children, while stronger concentrations pose safety risks and require adult handling.
- Proper setup includes safety goggles, a tray to contain overflow, and adult supervision during pouring and mixing to prevent skin or eye irritation.
- The foam erupts within about a minute, and adjusting yeast activation time or bottle shape can influence foam height and flow rate.
- Clean-up involves rinsing with water and discarding foam and solid waste responsibly, avoiding pouring solids or glitter down the drain.
- Emphasizing the predictability and scientific principles behind the reaction fosters better learning than chasing bigger foam columns.
Table of Contents
- What Is the Elephant Toothpaste Experiment?
- What You Need for a Kid-Safe Batch
- How Do You Make Elephant Toothpaste Step by Step?
- Is Elephant Toothpaste Safe for Kids?
- What Makes the Foam? The Simple Chemistry Behind It
- Fun Variations and Fixes When It Doesn’t Work
- How Do You Clean Up After the Experiment?
- How Brainie Comics Turns This Into a Real Lesson
- Our Honest Take on Teaching Kids With This Experiment
- Keep the Science Going With Brainie Comics
- Sources
What Is the Elephant Toothpaste Experiment?
Elephant toothpaste is a classic foam science experiment where hydrogen peroxide breaks down rapidly into water and oxygen gas, and dish soap traps that gas into a thick, expanding column of bubbles. The name comes from the result: a fat, squeezed-out ribbon of foam that looks like toothpaste sized for an elephant’s mouth. It’s not toothpaste, and it’s not for brushing anything. It’s a controlled decomposition reaction that happens to look like dessert gone wrong.
For the kid-safe version, the “catalyst” that speeds everything up is ordinary baker’s yeast rather than the potassium iodide used in lab demonstrations. That swap is what makes this a legitimate elephant toothpaste science project for home and classroom use rather than something that belongs behind safety glass in a university lab.
What You Need for a Kid-Safe Batch
Gather everything before you start. Once the yeast mixture goes in, the reaction moves fast, and hunting for a missing funnel mid-eruption is how spills happen.
- 3% hydrogen peroxide (the standard brown-bottle drugstore kind), about a half cup
- Dry active yeast, about 1 tablespoon
- Warm water, about 3 tablespoons, for activating the yeast
- Dish soap, a generous squirt
- Food coloring, a few drops
- A 16 to 20 ounce plastic soda bottle (empty and rinsed)
- A tray, basin, or baking sheet to contain overflow
- Safety goggles for every child involved, plus optional gloves and an apron
- A small funnel and measuring spoons for tidy pours
Skip 6% or higher concentrations for this version. Those “20 volume” or stronger peroxides used in some online tutorials produce a much more forceful reaction and demand adult-only handling, according to Scientific American’s breakdown of elephant toothpaste chemistry.
How Do You Make Elephant Toothpaste Step by Step?
Set up outdoors or on an easy-to-clean surface first. This experiment gets messy in the best way, and prepping the space matters more than any single ingredient.
- Place the bottle in the center of a tray or basin, and put it outside or on a washable floor if you can.
- Have every child put on goggles before anyone touches the peroxide.
- An adult measures 1/2 cup of 3% hydrogen peroxide into the bottle.
- Add a big squirt of dish soap and a few drops of food coloring, then give the bottle a gentle swirl.
- In a separate small cup, mix a tablespoon of dry yeast with a few tablespoons of warm water (around 105°F). Stir for about half a minute until it’s dissolved with no dry clumps.
- Explain to the kids that this stirring “wakes up” the yeast so its enzymes are ready to work the moment they hit the peroxide.
- Using the funnel, pour the yeast mixture into the bottle in one steady motion.
- Step back immediately. This is the moment adults should physically move kids a foot or two away from the bottle.
- Watch the foam rise, and note how quickly it happens. Most batches erupt quickly and keep flowing for roughly a minute.
- Let a child (with permission) gently touch the outside of the bottle afterward to feel the warmth from the reaction.
Pro Tip: If the foam comes out thin or sluggish, your yeast probably needed more activation time. MEGAMicrobe’s classroom instructions recommend stirring the yeast and warm water anywhere from 30 seconds up to 5 minutes for the strongest, most reliable eruption.
Give kids a job during step-back: counting seconds until foam appears, describing the color changes, or sketching the shape of the eruption. That’s the difference between watching a trick and doing a science project.

Is Elephant Toothpaste Safe for Kids?
Yes, when you use 3% hydrogen peroxide, the pharmacy-grade concentration sold for minor cuts and scrapes. That’s meaningfully weaker and safer than the 6% and higher versions some tutorials use for a bigger show. Per Scholastic’s home science guidance.
Even at 3%, peroxide can irritate skin and eyes, so a few rules stay non-negotiable:
- Adults measure and pour the hydrogen peroxide; kids never handle the bottle directly.
- Goggles are mandatory for everyone within arm’s reach of the reaction.
- Run the demo on a tray or outdoors to contain drips and overflow.
- Younger children should watch, ask questions, and help with color choices while adults handle all pours.
- Slightly older children can assist with measuring ingredients and mixing the yeast under direct supervision, while adults pour the peroxide.
- If peroxide contacts skin or eyes, rinse with water for several minutes and call a doctor if irritation persists.
- Store leftover peroxide in its original, labeled bottle out of children’s reach.
What Makes the Foam? The Simple Chemistry Behind It
Hydrogen peroxide is naturally unstable. Left alone, it slowly breaks down into plain water and oxygen gas. Yeast speeds that breakdown up enormously because it contains catalase and peroxidase, enzymes that act as catalysts, according to the American Chemical Society’s classroom activity guide. A catalyst doesn’t get used up. It just makes the reaction happen much faster.
The dish soap’s job is simple but essential: it traps the oxygen bubbling out as tiny bubbles instead of letting it escape as invisible gas, which is what turns a quiet chemical reaction into a foaming eruption. The reaction also releases heat, which is why the bottle feels warm right after.
Quick extensions worth trying:
- Double the yeast and compare foam height to the original batch.
- Swap in a narrower-necked bottle and watch the foam shoot higher instead of spreading wide.
- Try slightly warmer versus cooler activation water and time how fast the eruption starts.
Fun Variations and Fixes When It Doesn’t Work
Running this with a group? Give each child a small personal bottle (like an 8 ounce water bottle with proportionally less peroxide) instead of crowding around one big eruption. It’s safer and lets everyone actually participate.
- For a taller “fountain,” use a bottle with a narrow neck; for a wider, slower flow, use a wide-mouth bottle.
- Layer two colors of food coloring for a striped effect as the foam rises.
- Foam too weak? Give the yeast mixture more activation time or use slightly warmer water.
- Overflow spilling past your tray? Cut the peroxide volume by a third and try again.
If your group wants a lower-mess alternative some days, baking soda and vinegar experiments scratch a similar itch with less cleanup.
How Do You Clean Up After the Experiment?
Cleanup is straightforward if you contained the mess with a tray. Scoop the foam into a trash bag or compost it if it’s free of glitter or additives, then rinse the surface with plain water.
- Dilute any leftover liquid with several cups of water before pouring it down a drain.
- Never pour glitter or solid decorations down a sink; pick them out and toss them in the trash.
- Rinse the bottle thoroughly before recycling it.
- Wash aprons or clothing that touched peroxide separately, since it can bleach fabric.
How Brainie Comics Turns This Into a Real Lesson
Running the demo once is fun. Turning it into a story is what makes kids remember the chemistry behind it. Framing the eruption as a “mission” (rescue the color, stop the foam monster, save the lab) keeps attention longer than a bare demonstration, an approach borrowed from ACS classroom activities built around a character narrative for early grades.
Assign roles before you start: one child measures, one designs the color scheme, one records what happens on paper. Fizz Force pairs this exact kind of hands-on experiment with a story kids actually want to finish reading.
A reluctant reader who won’t touch a chapter book will often read straight through a comic that ends with “now go try this yourself.” That’s the gap story-led science closes.
Our Honest Take on Teaching Kids With This Experiment
The internet oversells elephant toothpaste as a spectacle and undersells it as a lesson. Most tutorials focus on getting the biggest, tallest foam column, which pushes people toward stronger peroxide concentrations they don’t need and shouldn’t use around kids. The 3% version isn’t the “boring” option. It’s the correct one for this audience, and the size of the eruption has never been the point.
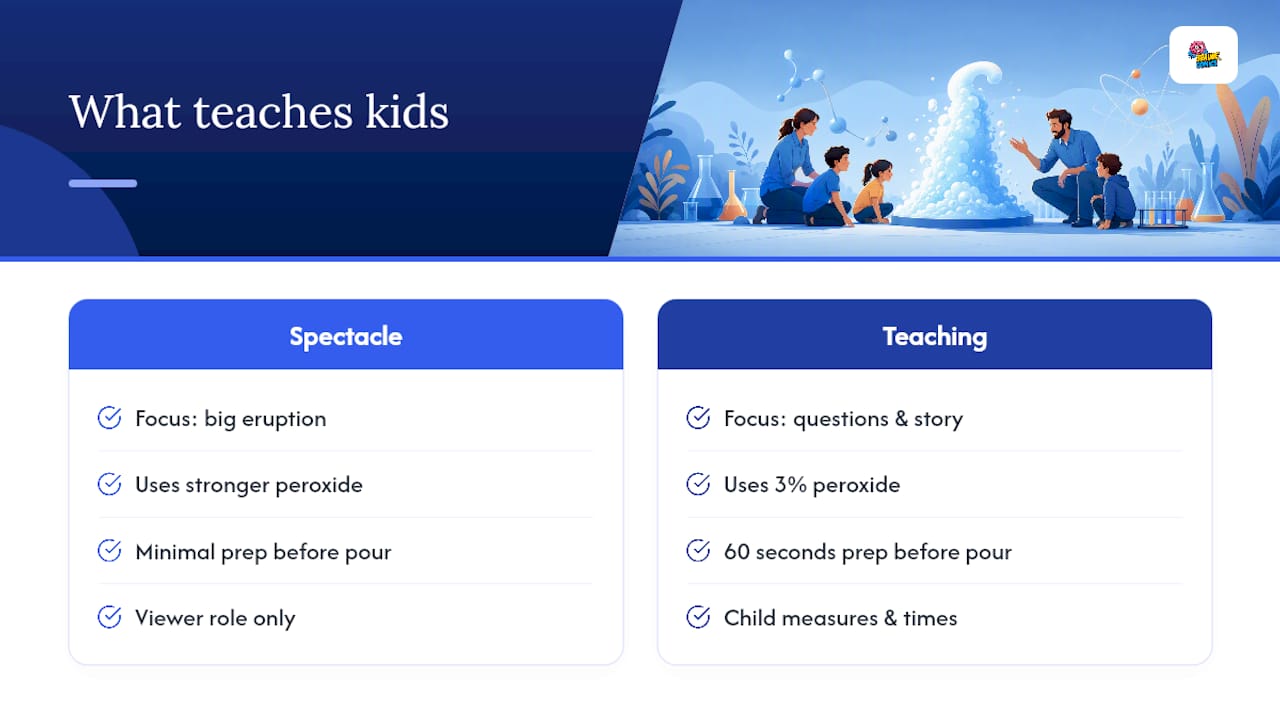
What actually teaches kids something is the 60 seconds before the pour, not the eruption itself. Making a child predict what will happen, watch the yeast activate, and explain afterward why the bottle feels warm does more for scientific thinking than a taller foam column ever will. Skip the arms race toward bigger reactions and lean into the questions instead.
If you’re choosing one thing to prioritize, prioritize the roles. A kid who measured the peroxide or timed the eruption retains more than one who just watched. Pair that hands-on structure with a story, the way Fizz Force does, and a fifteen minute kitchen experiment turns into something a kid brings up again days later.
— Brainie Comics
Keep the Science Going With Brainie Comics
If today’s eruption got a kid asking “what else can we mix?”, that curiosity is worth feeding before it fades. Brainie Comics builds exactly that bridge between hands-on demos like this one and the reading kids actually want to do.
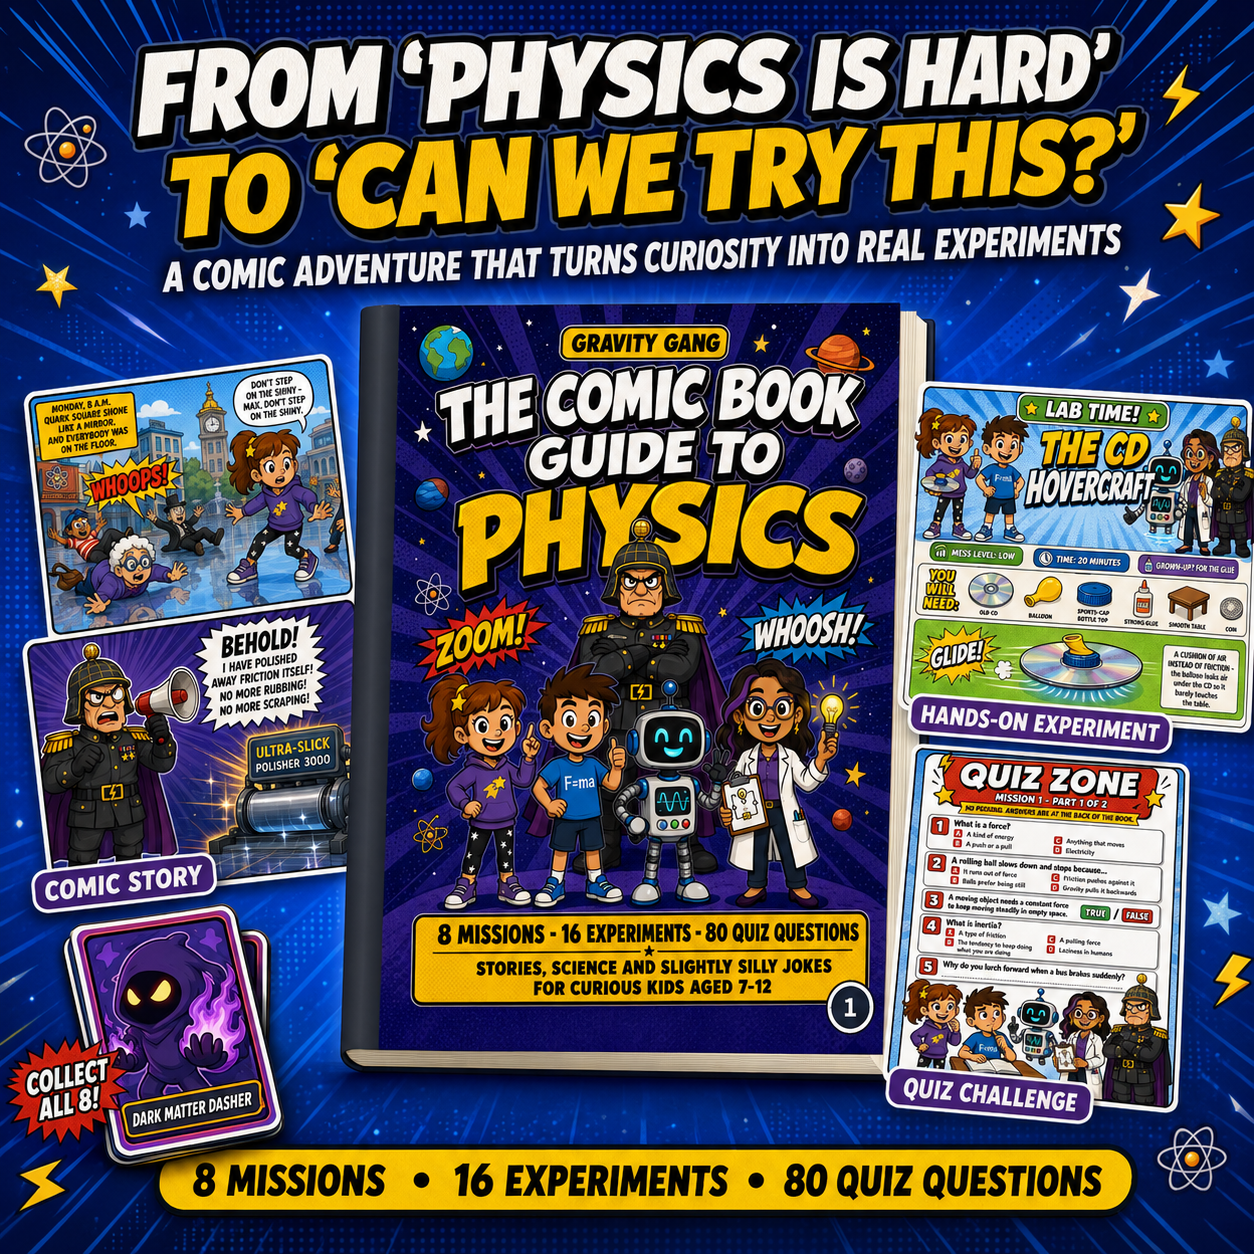
Fizz Force is a chemistry-focused comic built for ages 7 to 12 that pairs an adventure story with kitchen-safe experiments, so the learning doesn’t stop when the foam settles. If your household or classroom leans more toward motion, forces, and gravity, Gravity Gang covers physics with the same story-first approach. Both work well as a follow-up reading assignment the same day you run this experiment, while the reaction is still fresh in a kid’s mind. Browse the full catalog at Brainie Comics and pick the title that matches what got your child curious today.
Sources
For deeper detail beyond this guide, these sources cover the safety notes and classroom framing referenced above: