

Periscope for Kids: Buy or Build the Best One
For most parents and teachers, buy a ready-made periscope when you need something durable and ready to use in five minutes. Build a DIY version when you want a hands-on lesson in light and reflection that kids will actually remember.
Three quick factors help you decide:
- Age and dexterity: Kids under 6 do best with a ready-made toy. Ages 7 and up can handle the milk-carton build with adult help on the cutting.
- Time and materials: A bought periscope takes zero prep. A milk-carton build takes about 30 minutes and costs almost nothing.
- Learning goal: If the goal is play, buy it. If the goal is understanding why a periscope works, building one is the lesson.
Next steps: Jump to the buy shortlist below if you want a gift or classroom tool today. Skip to the milk-carton instructions if you’re running a STEM activity. Or pair either option with a Brainiecomics physics story for a richer science experience.
Key Takeaways
A periscope for kids works best as a hands-on science lesson when the build is paired with a clear explanation of the law of reflection and at least one follow-up experiment.
| Point | Details |
|---|---|
| Buy vs. build | Buy for convenience and durability; build the milk-carton version when the activity IS the lesson. |
| Safest DIY for classrooms | The milk-carton method suits ages 5 and up; adults handle all cutting, and acrylic mirrors eliminate sharp-edge risk. |
| Most common build failure | Mirrors set at the wrong angle; use the box-width trick to mark a true 45° line every time. |
| Best ready-made pick | GeoSafari Sneak & Peek for classrooms; Hape Hide & Seek for younger children at home. |
| Brainiecomics pairing | Gravity Gang extends the optics lesson with story-driven physics activities using everyday household materials. |
Table of Contents
- What are the best periscope toys for kids to buy right now?
- How to choose the right periscope toy or kit for your child or classroom
- How to build a DIY milk-carton periscope step by step
- Three alternative DIY builds for different ages and materials
- How does a periscope work? A kid-friendly science explanation
- Activities and learning extensions to turn a periscope build into a STEM lesson
- Safety and age guidance for periscope builds
- Materials checklist and where to find mirrors, kits, and parts
- Why hands-on optics matters more than most people realize
- Pair your periscope activity with a physics story
- Sources
What are the best periscope toys for kids to buy right now?
Five products consistently show up for good reason, and each fits a different need.
Hape Hide & Seek Periscope is the go-to for younger children. It’s a ready-to-use wooden toy with no assembly, built for ages 3 and up. The image is clear, the size fits small hands, and it survives the kind of treatment a 4-year-old gives things. Best for: gifts and outdoor play.
National Geographic Spy Science Kit bundles a periscope with other spy-themed optics tools, making it a natural fit for ages 8–12. It leans into the “secret agent” angle kids love, and the kit format means there’s genuine STEM content beyond the periscope itself. Best for: birthday gifts and home STEM exploration.
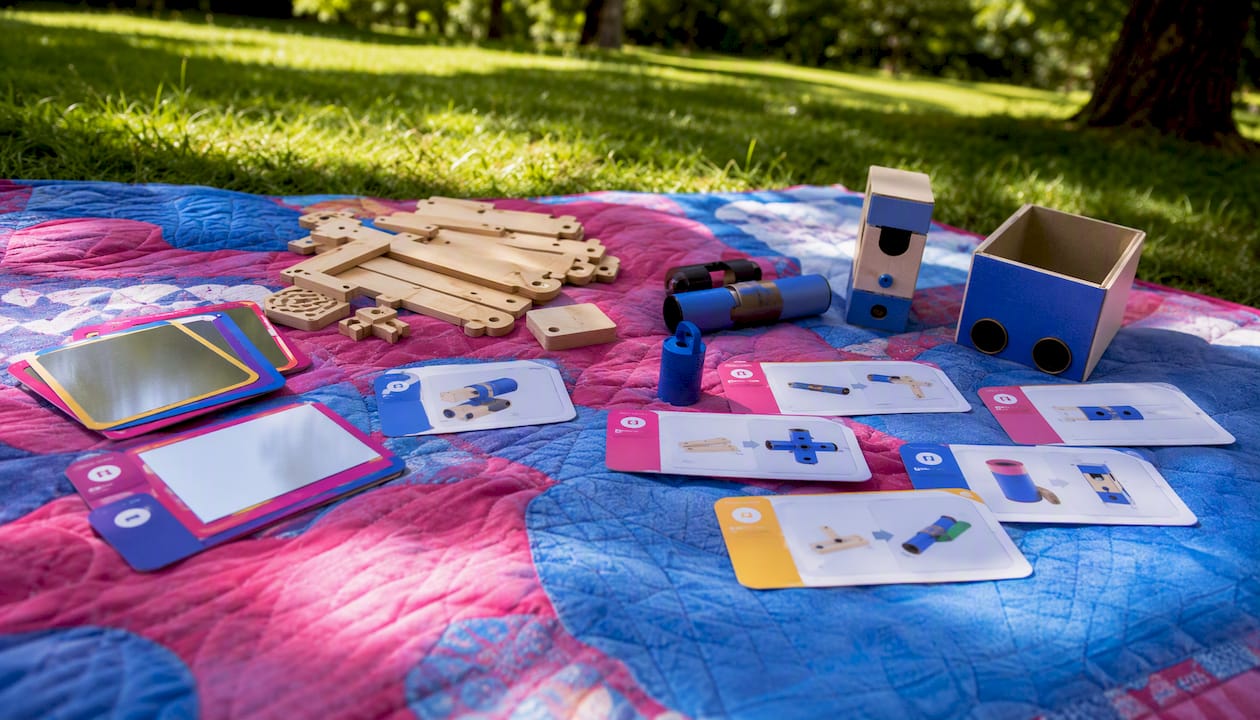
Smartivity Periscope 3D Wooden Model sits closer to the DIY end. Kids assemble it themselves from laser-cut wooden parts, which means the build is part of the learning. Recommended for ages 8 and up, with adult guidance for the first assembly. Best for: classrooms and kids who like making things.
Educational Insights GeoSafari Sneak & Peek Periscope is a classroom workhorse. It’s durable plastic, ready to use, and designed to survive shared use. The optics are solid for the price. Best for: school settings where multiple students will handle the same device.
Aurora Camp Arcadia Periscope is a compact, camp-friendly option with a rugged build. It’s designed for outdoor use, which makes it a good pick for nature walks, birdwatching activities, or summer programs. Best for: outdoor education and camp settings.
How to choose the right periscope toy or kit for your child or classroom
The single most useful question to ask first: will this be used once or dozens of times? A classroom periscope that gets passed around 25 students needs a different build quality than a toy a child uses at home for a month.
Age suitability is the non-negotiable starting point. Toys with small parts are a hazard for children under 3. Assembly kits that require fine motor precision frustrate kids under 7. Check the manufacturer’s age rating, but also consider your specific child’s patience level.
Durability and materials matter most in shared settings. Wooden and hard plastic bodies outlast cardboard kits in classroom use. If you’re buying for a single child at home, a lighter build is fine.
STEM value varies more than the packaging suggests. A periscope that simply works teaches nothing on its own. Kits that include a diagram of how light travels, a short explanation of reflection, or a challenge card push kids to think rather than just look through a tube. The Smartivity model and the National Geographic kit both include this kind of content.
Assembly complexity is a feature, not a flaw, when the audience is old enough. For ages 8 and up, assembling a periscope from parts is where most of the learning happens. For younger kids or time-pressed classrooms, ready-to-use wins.
One counterintuitive point: simple mirror-only periscopes often teach optics better than versions with LED lights or magnification add-ons. The gimmicks distract from the core concept. A plain two-mirror device makes the law of reflection obvious in a way a feature-loaded toy does not.
How to build a DIY milk-carton periscope step by step
The milk-carton method from PBS Kids is the most classroom-tested build around. It uses two quart-sized cartons, two small flat mirrors about 2" by 3", tape, and scissors or a craft knife. Adult supervision is required for any cutting.
Materials list:
- 2 clean, dry quart-sized milk or juice cartons
- 2 small flat mirrors (acrylic mirrors recommended for younger kids)
- Strong tape (packing tape or duct tape)
- Scissors and a craft knife (adult use only)
- Ruler and pencil
Steps:
- Cut the top flap off both cartons so each is an open-top rectangular tube.
- On the bottom of the first carton, cut a square viewing window about 1" × 1" on one side, near the base.
- On the second carton, cut a matching viewing window on the opposite side, also near the base.
- To mark the 45° mirror slot: measure the width of the carton’s base, then measure that same distance up the side wall. Draw a diagonal line connecting those two points. That line is your 45° angle.
- Cut a narrow slot along that diagonal line in each carton, just wide enough to slide a mirror through.
- Slide one mirror into each slot, reflective side facing the viewing window. The top mirror faces down; the bottom mirror faces up.
- Look through the bottom window. If you can see what’s above the top of the carton, the mirrors are aligned correctly.
- Tape the two cartons together, open ends facing each other, to form one tall tube.
Safety note: Use a craft knife only if you’re an adult. For kids under 8, pre-cut the slots before the activity starts. Acrylic mirrors have no sharp edges and are the right choice for any group that includes younger children.
Pro Tip: The most common build failure is a mirror angle that’s slightly off. The Exploratorium’s box-width trick is the most reliable fix: measure the carton’s width, mark that same measurement up the side, and connect the two points. That diagonal is a true 45° every time. Glue each mirror to a small square of cardboard before inserting it — the backing keeps the mirror from shifting and makes angle adjustments far easier.
Three alternative DIY builds for different ages and materials
Cardboard tube or paper towel roll method
Swap the milk cartons for a long cardboard tube (a wrapping paper roll or two paper towel rolls taped end to end). Cut diagonal slots at each end, insert mirrors at 45°, and cut small viewing holes. The build is faster and works well for ages 6 and up. The trade-off: the narrow tube gives a much smaller field of view, so the image is a tight circle rather than a wide rectangle. Good for a quick demo; less satisfying for extended use.
CD or DVD mirror method
Science Toy Maker documents this variant in detail. The reflective surface of an ordinary CD or DVD acts as a mirror when cut and mounted on poster board or a cereal-box body. Image quality is noticeably lower than with a flat optical mirror because the disc surface is curved and has a rainbow sheen that distorts the reflection. That distortion is actually a useful teaching point: it shows kids that mirror flatness matters. Cutting discs requires adult handling and protective eyewear.
PVC elbow-joint method
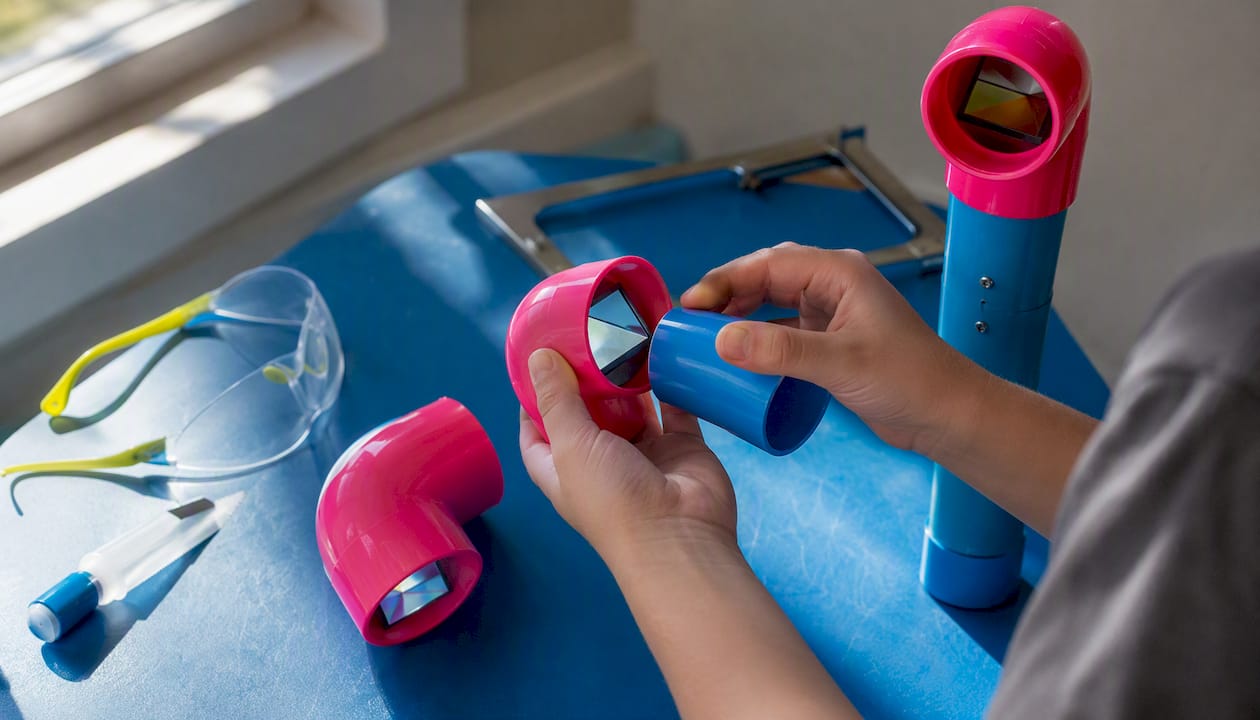
For older students or repeat classroom use, two PVC pipe elbows and a short straight section make a periscope that’s nearly indestructible. Mirrors are mounted inside the elbows at 45° and secured with epoxy. The elbow joints can swivel, which lets students rotate the top mirror and observe how the view changes. Any sawing of PVC pipe requires adult handling and safety glasses. This build costs more upfront but lasts for years of classroom use.
How does a periscope work? A kid-friendly science explanation
A periscope works by bouncing light off two flat mirrors, each set at exactly 45°. Light from an object above hits the top mirror, reflects downward through the tube, hits the bottom mirror, and reflects again into your eye. Each mirror bends the light’s path by 90°, so two mirrors together redirect it a full 180° from its original direction.
The rule behind this is the law of reflection: the angle at which light hits a mirror equals the angle at which it bounces off. Set the mirror at 45° to the incoming light, and the reflected beam travels at exactly 90° to the original path.
Classroom ray-tracing activity: Draw a vertical rectangle (the periscope tube) on paper. Mark a dot above the top-left corner (the object). Draw a line from the dot to the top mirror at 45°. From that mirror, draw the reflected ray straight down the tube. At the bottom mirror, draw the second reflection out through the viewing hole to the eye. Students can trace this path on their own diagrams and then test whether their built periscope matches the prediction.
| Design parameter | Value | Why it matters |
|---|---|---|
| Mirror angle | 45° | Redirects light exactly 90° per mirror |
| Number of mirrors | 2 | Two 90° turns = image right-side up |
| Recommended tube length | a compact length suitable for children | Balances field of view and image clarity |
| Mirror type | Flat plane mirror | Curved mirrors distort the image |
One experiment worth running: have students rotate the top mirror a few degrees off 45° and predict what will happen to the image before they look. Most expect the image to disappear entirely. What actually happens is more interesting: the image shifts, dims, or tilts. That surprise is what turns a craft into a science lesson. NASA’s classroom activity for grades 5–12 uses exactly this kind of ray-diagram prediction as its core assessment.
Activities and learning extensions to turn a periscope build into a STEM lesson
A finished periscope is the starting point, not the end. These extensions push kids from “look through it” to “understand it.”
- Peek-over-the-fence challenge: Set up a low barrier (a stack of books works) and ask kids to observe an object on the other side without standing up. Learning outcome: connect the device’s function to a real-world use case.
- Mirror-angle experiment: Rotate the top mirror in small increments and record what changes in the image. Learning outcome: directly observe the law of reflection and build intuition about angle relationships.
- Reflector comparison: Build three identical periscope bodies and test a flat optical mirror, a piece of Mylar, and aluminum foil as the reflective surface. Optical-grade and acrylic mirrors produce sharper images than foil or Mylar, which distort and scatter light. Learning outcome: understand that material properties affect optical performance.
- Build-a-better-periscope challenge: Give teams the same materials and a 20-minute time limit. Judge on image clarity and field of view. Learning outcome: iterative design thinking and peer evaluation.
- Around-the-corner view: Following Science World’s suggestion, challenge students to arrange mirrors so they can see around a corner, not just over a wall. Learning outcome: extend the two-mirror model to multi-mirror systems.
- Document and present: Have students draw their ray diagrams, record their observations, and present one finding to the class. Learning outcome: scientific communication and evidence-based reasoning.
For screen-free science activities that work well alongside these builds, Mooshie Moments has a strong collection of short, hands-on projects for younger learners.
Safety and age guidance for periscope builds
Age ranges by method:
- Milk-carton and cardboard-tube builds: Suitable for ages 5 and up with adult cutting support. Children 8 and older can participate in the cutting with direct adult supervision.
- CD/DVD method: Ages 8 and up; disc cutting requires adult handling only.
- PVC elbow build: Best for ages 10 and up; any pipe cutting is strictly adult-only.
Mirror safety: Broken glass is never appropriate for a children’s build. Use acrylic mirrors for any group that includes kids under 10. Mylar sheets are a safe fallback but produce lower image quality. If you use glass mirrors with older students, tape the edges before the session.
Adult-supervision checklist:
- Pre-cut all slots and windows before younger children join the activity
- Keep craft knives and box cutters out of reach when not in active use
- Secure mirrors with cardboard backing and tape so they cannot fall out during use
- For PVC builds, complete all sawing before students handle the parts
Materials checklist and where to find mirrors, kits, and parts
Shopping list for the milk-carton build:
- 2 quart-sized milk or juice cartons (free, from your kitchen)
- 2 small flat mirrors, approximately 2" × 3" (acrylic preferred)
- Packing tape or duct tape
- Craft knife (adult use) and scissors
- Ruler and pencil
For the PVC build, add:
- 2 PVC elbow joints (90°)
- Short PVC pipe section
- Epoxy adhesive
- Safety glasses
Where to buy:
- Craft stores (Michaels, Hobby Lobby) carry small acrylic mirrors and cardboard tubes
- Educational-supply sellers (Lakeshore Learning, Nasco) stock pre-cut mirror kits and classroom-quantity materials
- General online retailers carry acrylic mirror sheets that can be cut to size
- STEM kit brands like Thames & Kosmos and Steve Spangler Science sell complete optics kits that include appropriate mirrors
For at-home builds, Fidget and Spin’s guide to practical home activities offers useful structure for organizing a DIY session with kids.
Longevity note: Acrylic mirrors and pre-cut mirror kits cost a little more upfront but survive repeated classroom use. Foil and Mylar are fine for a one-time demo but degrade quickly with handling.
Why hands-on optics matters more than most people realize
There’s a version of the periscope lesson that goes like this: the teacher explains reflection, draws a diagram on the board, and moves on. Kids nod. Nobody remembers it a week later.
The version that sticks is the one where a child holds a cardboard tube, looks through a hole, and sees something they couldn’t see a moment ago. That moment of “wait, it actually works” is doing something a diagram cannot: it makes an abstract rule feel real. The law of reflection stops being a phrase to memorize and becomes something the child has experienced.
At Brainiecomics, the same principle drives every comic we publish. Gravity Gang doesn’t explain physics at kids; it puts characters in situations where physics is the only way out. The reader figures out the rule by watching it matter. A periscope build works the same way. The science isn’t presented first and then demonstrated. The child builds the thing, it works (or doesn’t), and the explanation arrives as the answer to a question they’re already asking.
One practical suggestion: pair the build with a reading session from a science comic before or after. The story gives the concept a narrative frame, and the build gives it a physical one. Together, they cover the two ways children most reliably retain new ideas.
Pair your periscope activity with a physics story
A periscope build teaches reflection in about 30 minutes. What it can’t do on its own is show kids where that principle shows up in the wider world, or why it’s worth caring about beyond the activity.
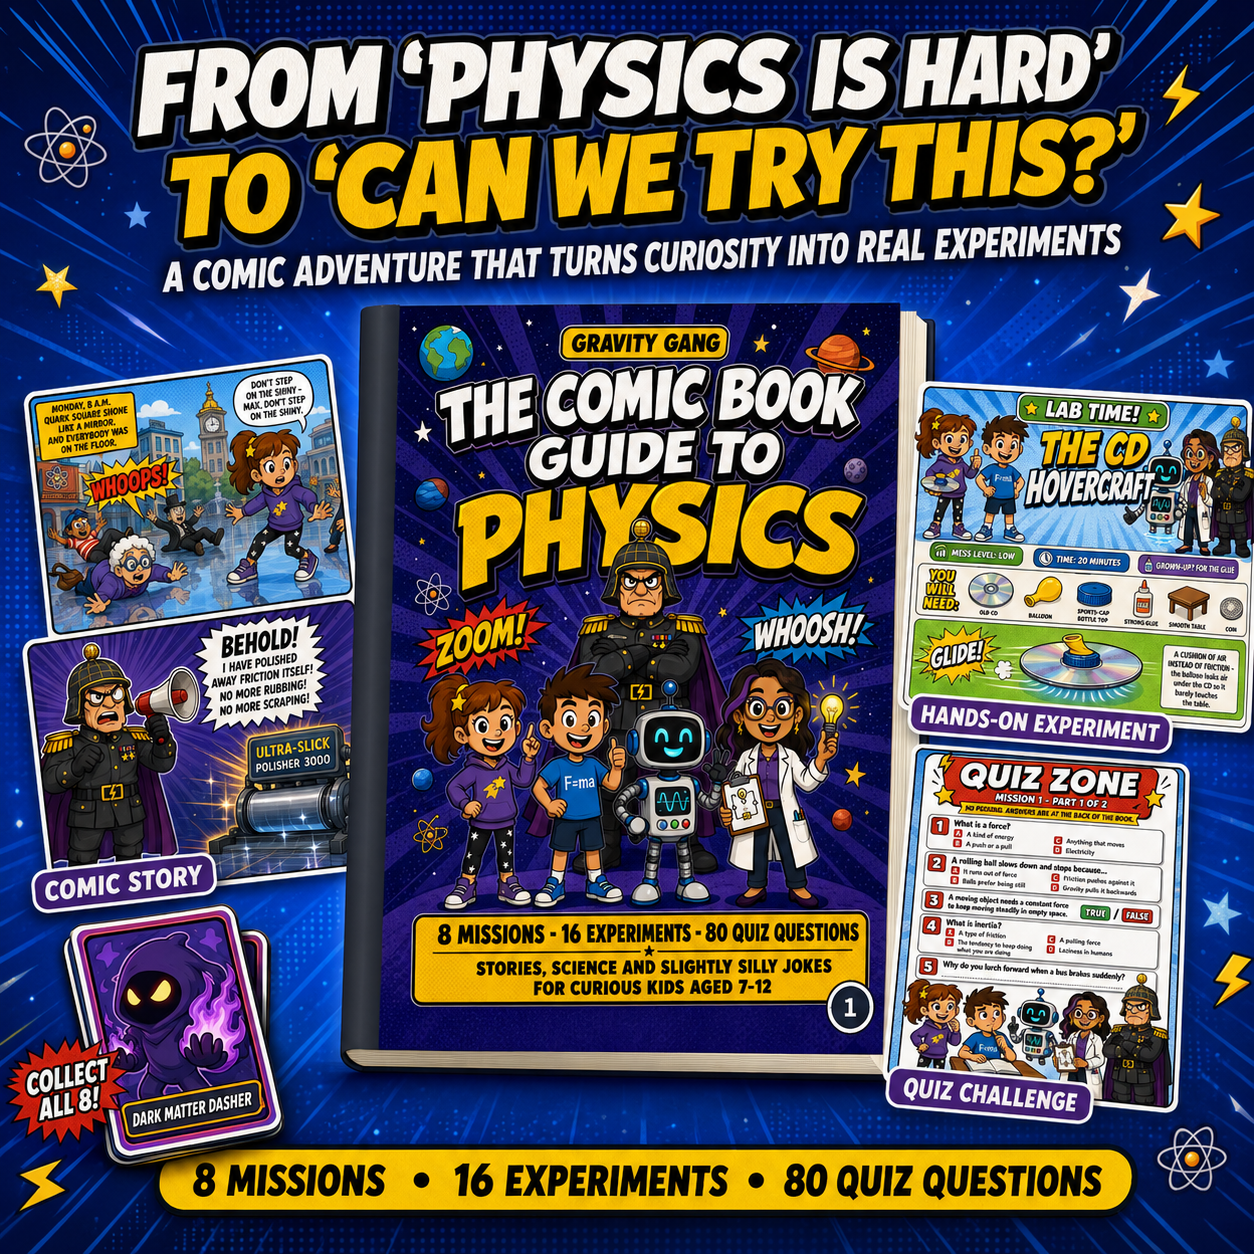
That’s where Gravity Gang, Brainiecomics’ comic book guide to physics, picks up. It uses story-driven science and kitchen-safe experiments to make physics concepts stick for kids ages 7–12, using household materials and no screens. The comic covers forces, motion, and light in a format kids actually want to read, which means the concepts from your periscope session have somewhere to land. Browse the full range of science comics for kids at Brainiecomics and find the title that fits your next lesson.
Sources
- Make a Periscope With Milk Cartons | PBS KIDS for Parents
- Periscopes - Science World
- Periscope | Exploratorium Annex
- How to make a periscope with CD or DVD | Science Toy Maker