

Paper Airplane Science for Kids & Teachers
Build three paper airplanes, a dart, a glider, and a stunt plane, and fly each one five times to see how design changes distance, time aloft, and stability. That single test, run in about 30 minutes, teaches thrust, lift, drag, and weight faster than any worksheet.
One-minute setup:
- Ten sheets of printer paper, a ruler, tape measure, and stopwatch
- A clear hallway or gym, roughly 20 feet of open space
- Masking tape to mark a launch line and landing zones
Kids walk away understanding that flight is a balance of forces, and that small design tweaks (not luck) determine whether a plane crashes or glides.
Pro Tip: Launch every plane the same way, same height, same push, same angle. If the thrower changes, the data changes, and you will chase phantom results all afternoon.
Key Takeaways
Paper airplane flight depends on balancing thrust, lift, drag, and weight, and center of mass placement is the single biggest lever for stable gliding.
| Point | Details |
|---|---|
| Run three designs | Build a dart, glider, and stunt plane to isolate distance, time aloft, and maneuverability separately. |
| Test one variable at a time | Change only paper type, nose weight, or wing angle between trials to get clean data. |
| Average five trials | Fly each design five times and average distance and time aloft to smooth out bad throws. |
| Nose weight controls stability | A paper clip near the nose shifts the center of mass and often turns a tumbling plane into a glider. |
| Extend the learning | Brainie Comics’ Gravity Gang comic reinforces the same physics concepts through story-driven kitchen experiments. |
Table of Contents
- Materials and Safety Notes for Paper Airplane Experiments
- Three Easy Paper Airplane Building Techniques to Try First
- How Do You Run a Fair Paper Airplane Test?
- What Physics Explains Paper Airplane Flight?
- STEM Challenges and Lesson Plans That Work
- Why Do Scientists Still Study Paper Airplanes?
- Common Paper Airplane Mistakes and Quick Fixes
- Why Paper Planes Teach Real Engineering Thinking
- Keep the Physics Going with Gravity Gang
- Where to Find More Paper Airplane Lesson Resources
- Frequently Asked Questions
- Sources
Materials and Safety Notes for Paper Airplane Experiments
Keep the list short: standard printer paper, one sheet of cardstock or construction paper for comparison, paper clips, a ruler, a 25 foot tape measure, a stopwatch, and masking tape or cones to mark distances.
Run this outdoors on a calm day or in a long hallway or gym indoors. Wind gusts above a light breeze will wreck your distance data, and humid paper folds unevenly and loses stiffness, so store paper flat and dry.
- Keep scissors use adult-supervised for younger kids
- Watch for loose paper clips underfoot
- Assign a clear launch lane so kids aren’t walking into flight paths
Three Easy Paper Airplane Building Techniques to Try First
Each design isolates a different variable, so build all three before you test anything.
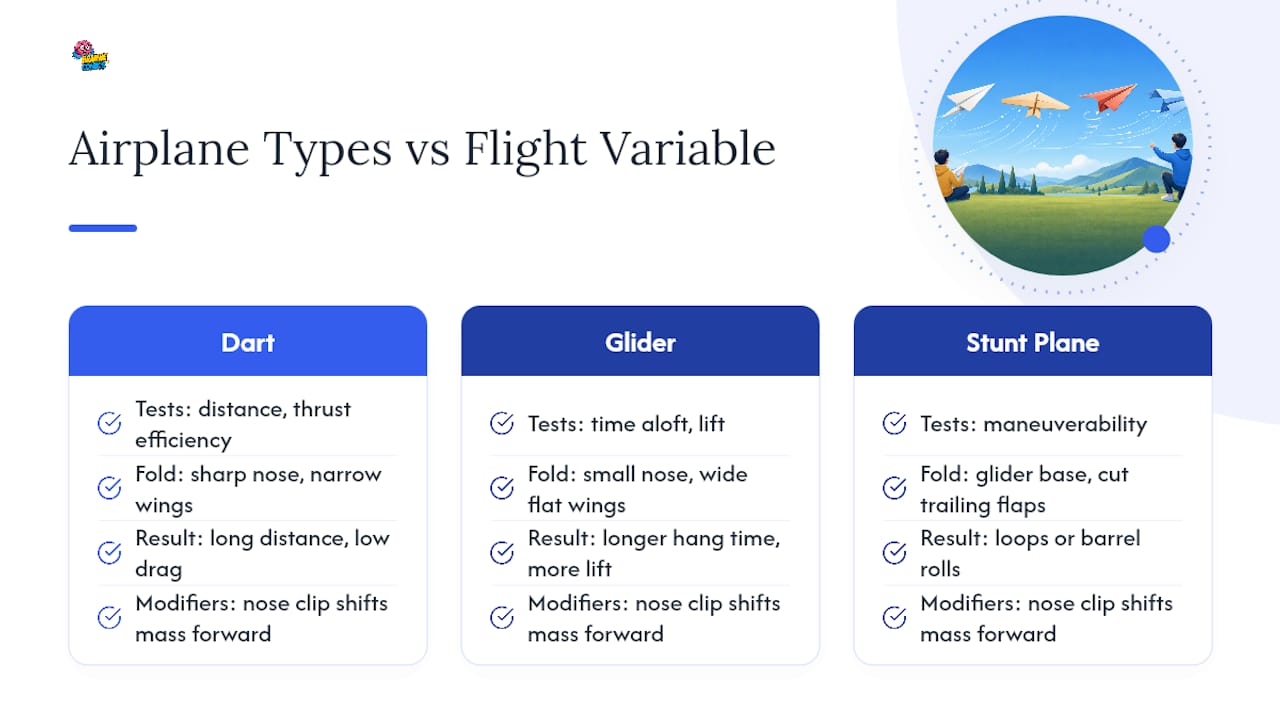
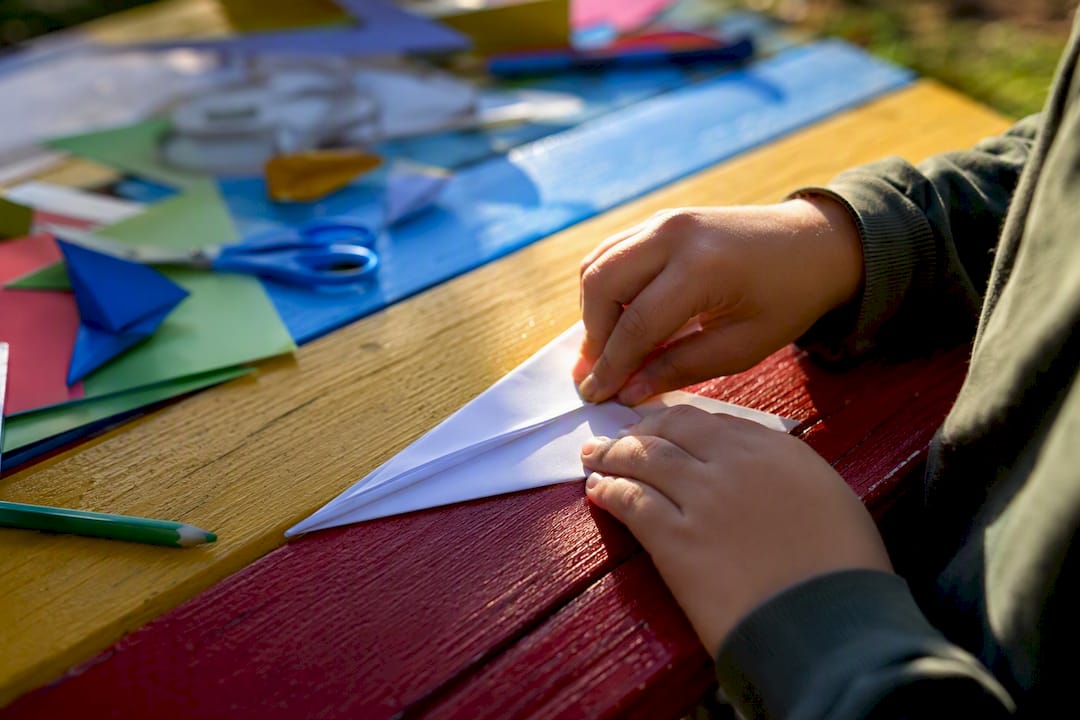
1. The Dart (tests distance and thrust efficiency) Fold a sheet in half lengthwise, then unfold. Fold the top two corners into the center crease. Fold those edges into the center again to form a sharp point. Fold the whole plane in half along the original crease, then fold each side down to make narrow wings. The dart’s slim nose and low drag make it the distance champion of the three.
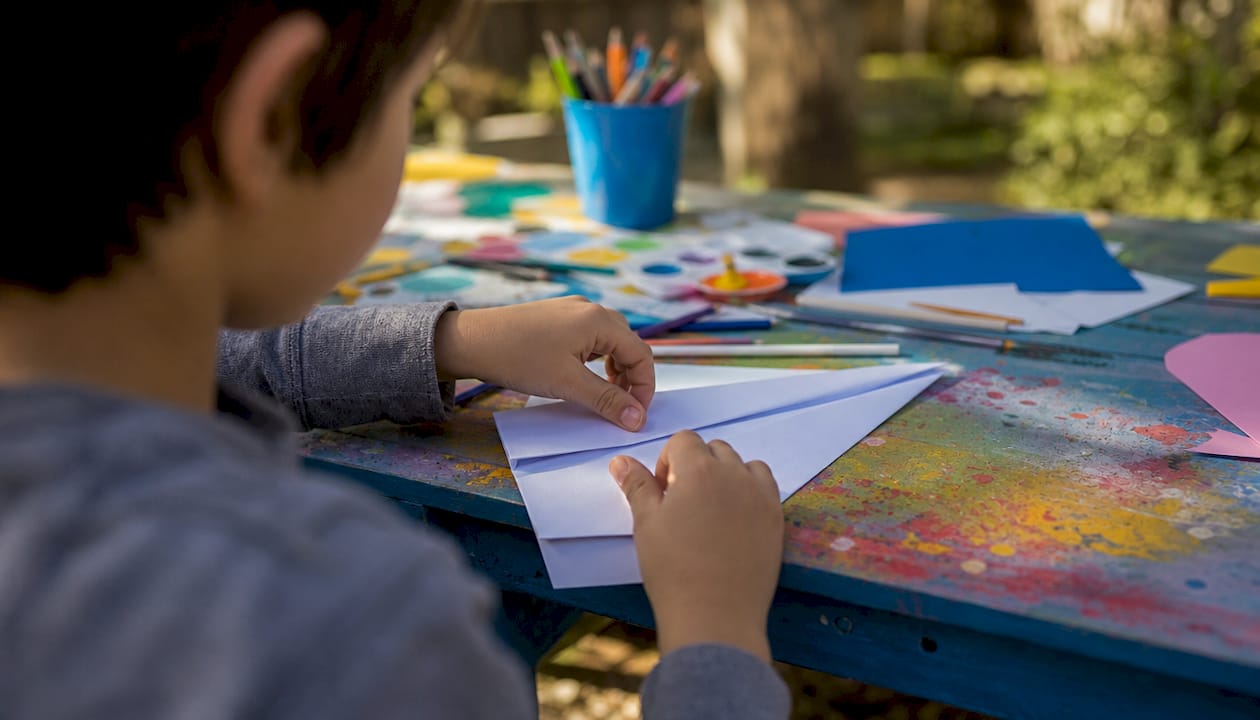
2. The Glider (tests time aloft and lift) Fold the paper in half lengthwise and unfold. Fold the top corners to the center to make a small triangle point. Fold the point down to lock it in place. Fold in half, then fold wide, flat wings down on each side. Wider wings mean more lift and slower descent, so this one hangs in the air longer than the dart.
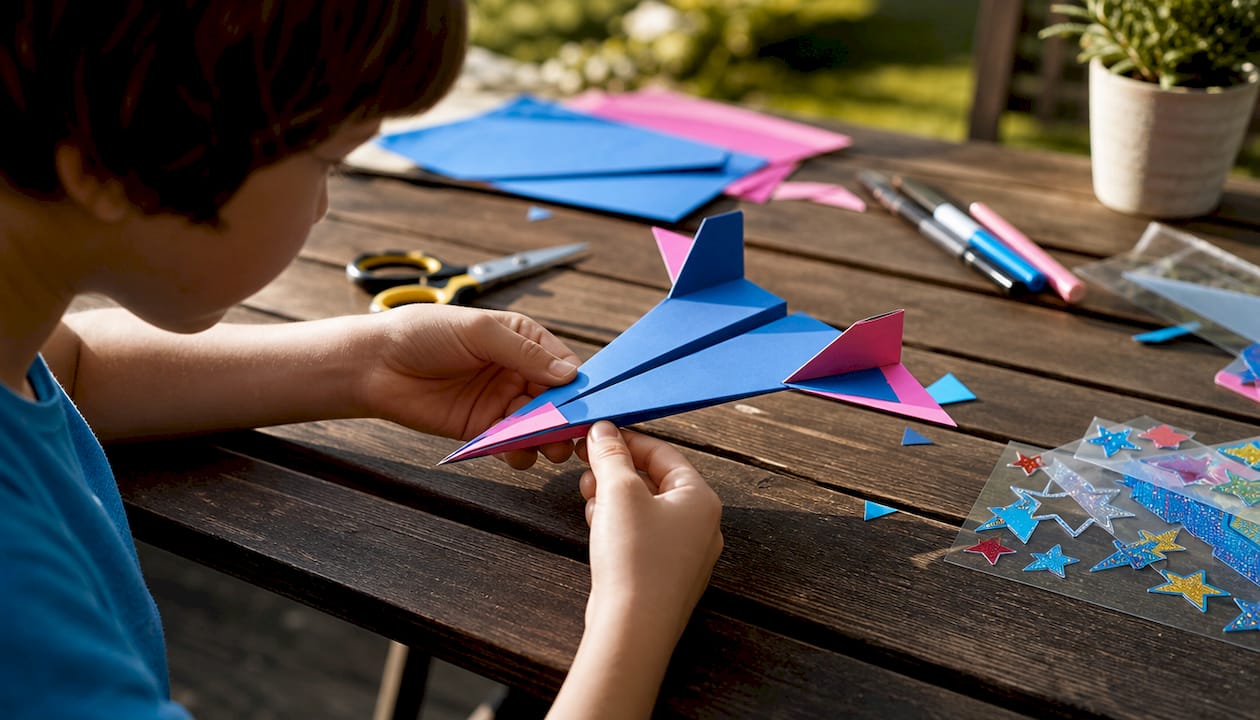
3. The Stunt Plane (tests maneuverability) Start like the glider, but add small flaps cut into the trailing edge of each wing. Bending both flaps up makes the plane loop; bending one up and one down makes it barrel roll.
Add a paper clip to the nose of any design to shift the center of mass forward, and add small wing bends called dihedral (angling the wings slightly upward from the body) to improve roll stability.
Pro Tip: Change only one variable per test flight, paper clip weight, wing angle, or throw force, never two at once. Mixing variables is the single biggest reason kids get confusing results.
How Do You Run a Fair Paper Airplane Test?
Real aerodynamics of paper planes research depends on controlling every variable except the one you’re studying, and your classroom test should work the same way.
- Write a simple hypothesis: “The dart will fly farther than the glider because it has less drag.”
- Pick one variable to test: paper type, nose weight, wing area, or launch angle.
- Use the same thrower, the same launch line, and the same throwing motion for every trial.
- Fly each plane multiple times, measuring distance in feet and time aloft in seconds with a stopwatch.
- Average the multiple trials per design to smooth out one lucky (or unlucky) throw.
Graph the averages on a simple bar chart, one bar per design, and ask: which plane wins, and why does the physics support that result?
What Physics Explains Paper Airplane Flight?
Every flight, good or bad, comes down to four forces fighting each other. Thrust is the push from your throw. Drag is air resistance slowing the plane down, think of your hand out a car window, flat palm forward feels like a wall, edge-on slices through easily. Lift is the upward push created by air moving over the wings. Weight is gravity pulling the plane down, always.
- A plane flies straight and far when these forces stay balanced through the flight
- Too little nose weight and the plane flutters or tumbles instead of gliding
- Too much nose weight and it noses straight into the ground
Stability depends on two invisible points: the center of mass (where the plane’s weight balances, like the middle point of a seesaw) and the center of pressure (where lift forces balance). NYU research found that shifting the center of mass forward, often just by adding a paper clip near the nose, turns a tumbling sheet of paper into a smooth, stable glider. A separate study in the Journal of Fluid Mechanics backs this up, showing that front weighting is one of the strongest levers for controlling whether a plane tumbles, flutters, or glides steadily.
Pro Tip: Have students bend the plane’s tail flaps up slightly and watch the nose lift. That’s angle of attack in action, tilting the wing changes how much air gets pushed downward, which changes lift.
STEM Challenges and Lesson Plans That Work
Turn the basic test into a full lesson with these timed challenges:
- Distance contest (15 minutes): whose dart flies farthest across 5 trials?
- Time aloft challenge (15 minutes): whose glider stays up longest?
- Payload challenge (20 minutes): tape a paper clip to each plane and see which design still flies best carrying extra weight.
- Accuracy target (10 minutes): fly at a hula hoop or taped circle from 15 feet away.
Two-session lesson plan:
- Day 1: build and design all three planes, discuss predicted outcomes.
- Day 2: run controlled trials, record data, graph results, and redesign one plane based on evidence.
This structure lines up with TeachEngineering’s NGSS-aligned approach, which recommends testing multiple models and using data to drive redesign. Ask students to write one sentence explaining what evidence changed their design, that’s your formative assessment right there.
Why Do Scientists Still Study Paper Airplanes?
Paper airplane physics gets complicated fast once you look past the classroom basics.
- NASA’s Wingin’ It program treats plane-building as a full engineering design cycle, not just a craft project, and recommends tools like FoilSim for comparing wing shapes.
- NSF-funded researchers use paper planes to study real aerodynamic instability, because thin, light flyers behave in ways that stiff-wing models don’t predict.
- Reviews in SIAM News point to vortex lift, swirling air that forms at a wing’s leading edge, as a major reason simple airfoil math often fails for paper flyers.
- Older students can extend the activity with dimensional analysis, scaling up or down the same design and comparing flight ratios, a method used in university fluid dynamics coursework.
No single equation predicts every paper airplane’s flight perfectly. That’s exactly why iterative testing, not formula-chasing, is the better teaching tool.
Common Paper Airplane Mistakes and Quick Fixes
Most bad flights trace back to one of three problems, and all three are fixable in seconds.
- Nose dive: remove some nose weight or check that folds are symmetrical on both sides.
- Stall or flutter: add a small paper clip near the nose to shift the center of mass forward.
- Asymmetric roll: refold one wing to match the other exactly; uneven creases are the usual culprit.
- Rotate student roles (thrower, measurer, recorder) so trials stay fair and everyone participates.
- Avoid humid, limp paper and check for drafts near doors or vents before testing indoors.
Why Paper Planes Teach Real Engineering Thinking
Paper airplanes work because they turn abstract forces into something a kid can throw across a room and immediately question. The best sessions I’ve seen aren’t about who wins the distance contest, they’re about the redesign that happens after a plane crashes.
Two habits matter most: ask kids to predict before they throw, and require one specific change between attempts. That’s the entire engineering design cycle, compressed into a hallway.
Keep the Physics Going with Gravity Gang
Paper airplanes teach forces for one afternoon. Gravity Gang keeps that curiosity going long after the planes get stuffed in a backpack. Brainie Comics built this comic book to walk kids ages 7 to 12 through core physics concepts, gravity, force, motion, through an illustrated adventure paired with kitchen-safe experiments using stuff you already have at home.
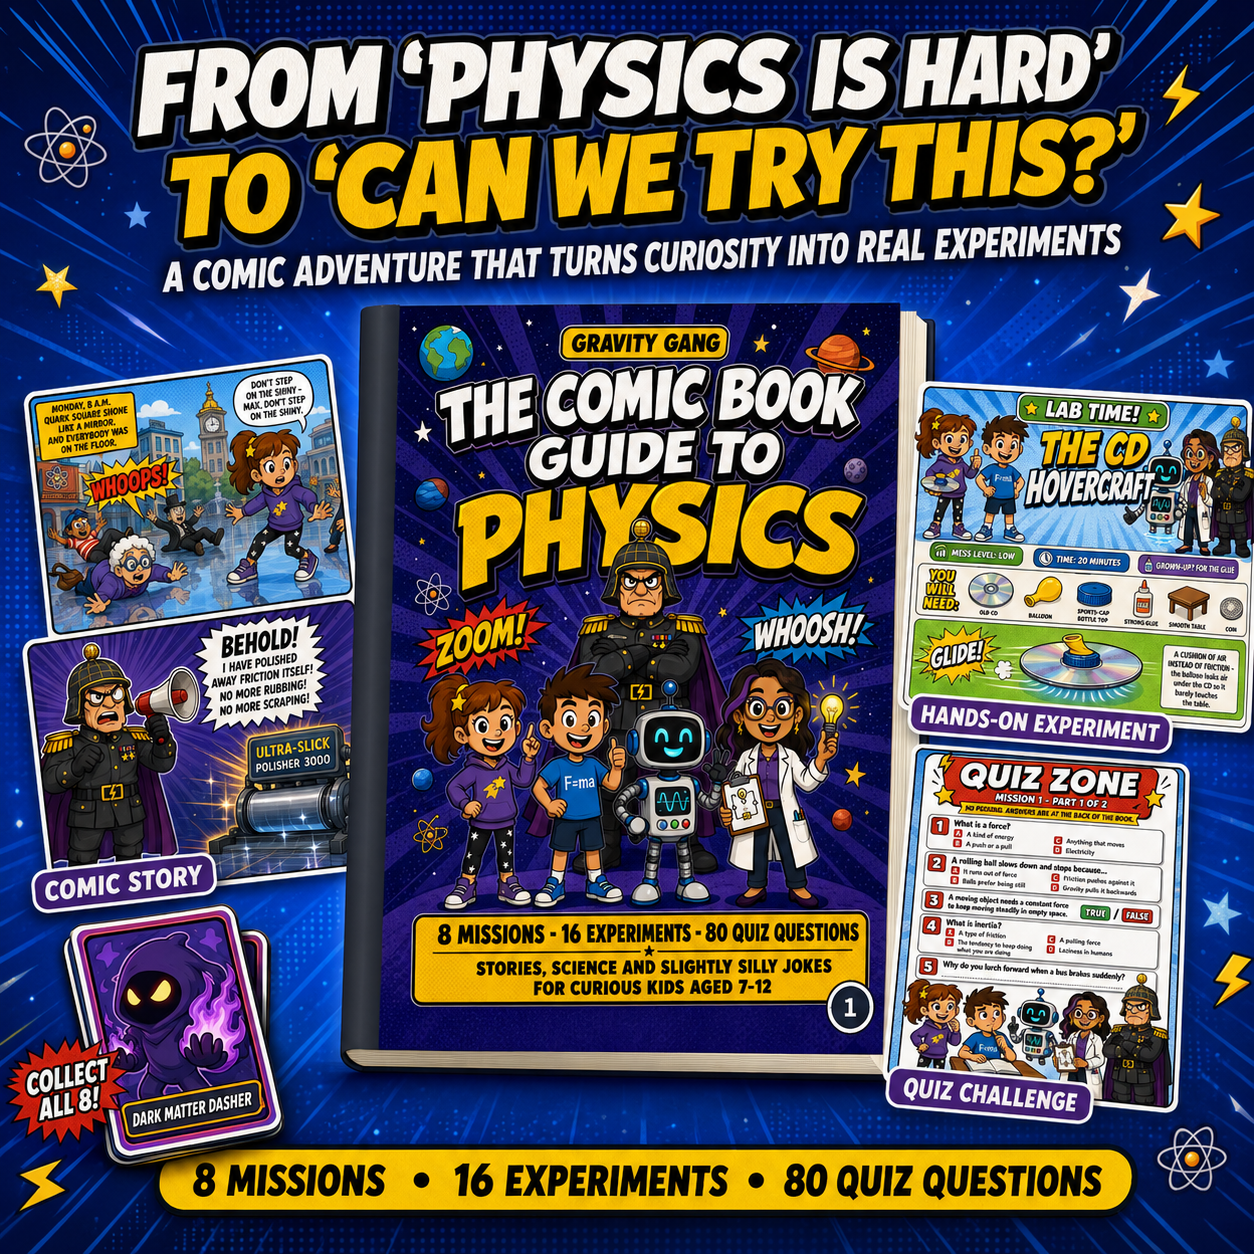
The same ideas your students just tested, thrust, weight, center of mass, show up again in Gravity Gang’s story-driven experiments, giving reluctant readers a reason to keep exploring science without a screen in sight. It’s a natural follow-up for any classroom or family that just ran the paper airplane activity and wants more. Parents looking for other hands-on activity ideas can also check out Mooshie’s parenting blog for additional screen-free STEM inspiration.
Grab a copy of Gravity Gang to extend today’s lesson into a full story kids will want to finish, or browse the full lineup at Brainie Comics to build out a classroom science shelf.
Where to Find More Paper Airplane Lesson Resources
- NASA’s Wingin’ It: full lesson plans plus FoilSim wing comparisons
- Science Buddies: reproducible drag experiment with a downloadable data table
- TeachEngineering: NGSS-aligned build and test activity
- NSF: research context on aerodynamics and flight stability
- NYU: center-of-mass research behind glider stability
Frequently Asked Questions
What is the best paper for paper airplane experiments? Standard printer paper works fine for most designs, but cardstock holds creases better and resists humidity, making it a good comparison sheet when testing how paper type affects flight distance.
Why does my paper airplane nose dive every time? Too much nose weight or uneven folds are the usual causes. Remove a paper clip or refold the plane to check that both wings are symmetrical.
How many trials should students fly per design? Five trials per design, averaged together, gives reliable enough data for classroom purposes while keeping the activity under 30 minutes.
Does paper airplane science align with NGSS standards? Yes. TeachEngineering’s lesson explicitly ties the activity to engineering design standards, including testing, data collection, and iterative redesign.
What age group works best for this activity? Kids as young as second grade can build and fly the basic dart and glider, while the data table, graphing, and hypothesis writing suit third grade through middle school.
Sources
- Wingin’ It Paper Airplane Activity - NASA
- Paper Airplanes: aerodynamics STEM activity - Science Buddies
- Paper Airplanes: Building, Testing, & Improving. Heads Up! - Activity - TeachEngineering
- Scientists experiment with paper planes to study aerodynamics and flight stability - NSF
- For new insights into aerodynamics, scientists turn to paper air - NYU