

4 Low Mess Magnetism Experiments Parents Can Do With Story Comics
Four experiments beat the rest for a first try: a homemade compass from a needle, a sealed iron-filings bottle, a paperclip chain, and a simple electromagnet made from a nail and wire. All four work for ages 5 to 12 with adult supervision around small magnets, batteries, and sharp needles. Below you’ll find the exact materials, steps, and simple science behind each one.
TL;DR:
- Magnetic experiments can be conducted with common household items, but safety precautions are required when handling small magnets, needles, and batteries.
- Simple activities like building a homemade compass or a paperclip chain effectively demonstrate fundamental magnetic principles such as Earth’s magnetism and induced magnetism.
- Visualizing magnetic fields with sealed bottles containing iron filings or sand provides a mess-free, durable way to observe field lines in three dimensions.
- Magnet strength can be roughly ranked through simple tests like the paperclip chain and distance pull, with neodymium magnets consistently outperforming larger but weaker types.
- Enhancing experiments with storytelling through comics motivates kids to complete longer science activities and helps reinforce scientific concepts.
Table of Contents
- Materials and Safety for Magnetism Experiments
- Easy Hands-On Magnet Experiments to Try Today
- Building an Electromagnet and Simple Motor
- How Do You Visualize a Magnetic Field at Home?
- Why Do Only Some Materials Respond to Magnets?
- How to Measure and Compare Magnet Strength
- What Scientific Principles Do These Experiments Teach?
- What History Shaped Our Understanding of Magnetism?
- Ways to Extend These Experiments Further
- Why Story-Led Experiments Help Kids Actually Finish Them
- Our Take: Skip the Overbuilt Kits, Start With What’s Already in Your Kitchen
- Keep the Momentum Going With a Story-Driven Science Comic
- Sources
Materials and Safety for Magnetism Experiments
You don’t need a lab. Most magnetism science activities run on things already in a kitchen drawer or junk box.
- Steel paperclips or sewing needles (stand-ins for pure iron)
- Small button magnets or a bar magnet from an old speaker
- One AA battery per electromagnet build
- A few feet of insulated copper wire (22 to 24 gauge works well)
- An iron nail, 2 to 3 inches long
- Iron filings, or a substitute like fine steel wool cut into bits, or black playground sand (magnetite)
- Non-magnetic controls: aluminum foil, a copper penny, a plastic spoon
Keep magnets at least a few feet from phones, laptops, credit cards, and hearing aids. Small, strong magnets are a swallowing hazard, so supervise directly with kids under 8. Limit electromagnet battery connections to short bursts (10 to 15 seconds) so the wire doesn’t overheat.
Pro Tip: Do iron-filings work over a baking sheet or inside a zip-top bag before you seal anything permanently. It contains the mess and saves you from finding metal shavings in the carpet a week later.
For anyone running this with a group, one adult should handle the battery connections while a second manages the magnets and materials.
Easy Hands-On Magnet Experiments to Try Today
These five activities cover the core of what most magnetism science activities try to teach: attraction, repulsion, poles, and material response. Each one takes under 20 minutes.
1. Homemade compass (ages 5 to 10, 10 minutes). Goal: show that a magnetized needle aligns with Earth’s magnetic field. Materials: a sewing needle, a bar magnet, a small piece of cork or foam, a bowl of water. Stroke the needle across the magnet 20 times in one direction, then rest it on the cork and float it in the bowl. Watch the needle slowly rotate and settle pointing north-south. If it doesn’t move, restroke the needle. Kids should notice it always settles the same direction no matter how you spin it.
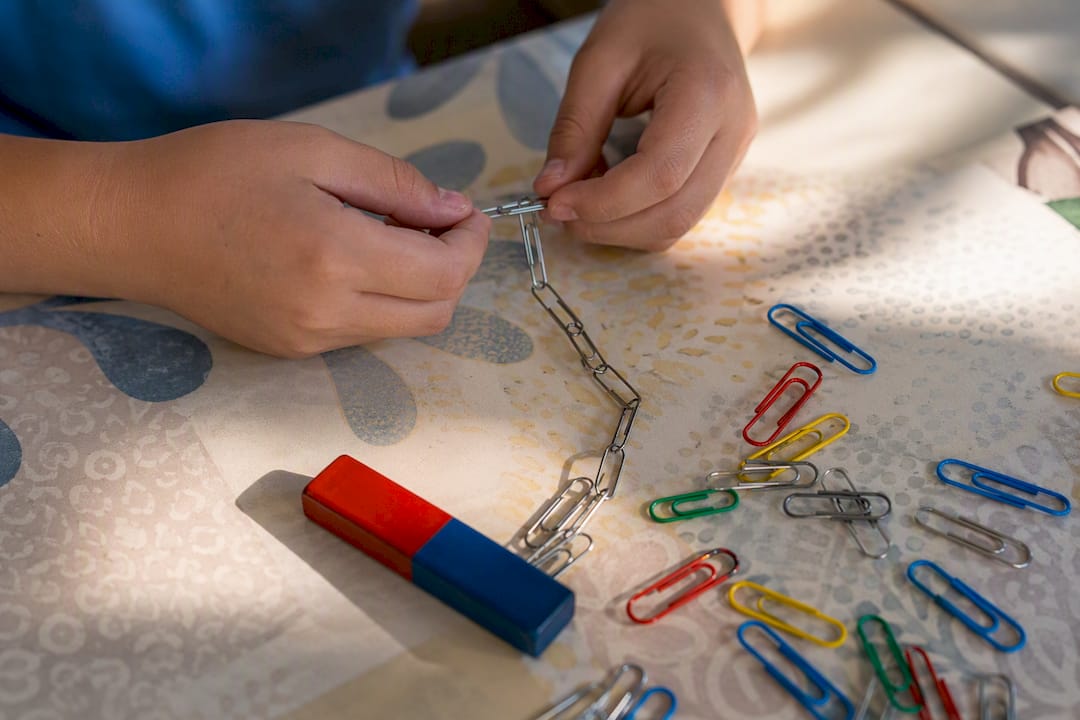
2. Paperclip chain (ages 5 to 9, 5 minutes). Goal: demonstrate induced magnetism. Materials: one strong magnet, a pile of steel paperclips. Touch one paperclip to the magnet, then try hanging a second paperclip off the first, then a third off that. Count how many links you can add before the chain drops. Try it again with aluminum paperclips (they won’t chain at all) as a control.
3. Magnetic fishing (ages 4 to 8, 15 minutes). Goal: sort magnetic from non-magnetic objects. Materials: a magnet tied to string on a stick, a mixed pile of steel washers, plastic buttons, and aluminum foil balls in a shallow bin. Kids “fish” for objects and sort catches into two piles. If nothing bites, check that the “fish” are actually steel and not aluminum or brass.
4. Magnetic painting (ages 6 to 11, 15 minutes). Goal: visualize magnetic pull through motion. Materials: iron filings or steel shavings, washable paint, a strong magnet under a paper plate. Drop dabs of paint mixed with filings onto the plate, then move the magnet underneath. Watch the paint streak toward the magnet’s pull. Use a plastic sheet under the plate if you want a reusable magnet wand.

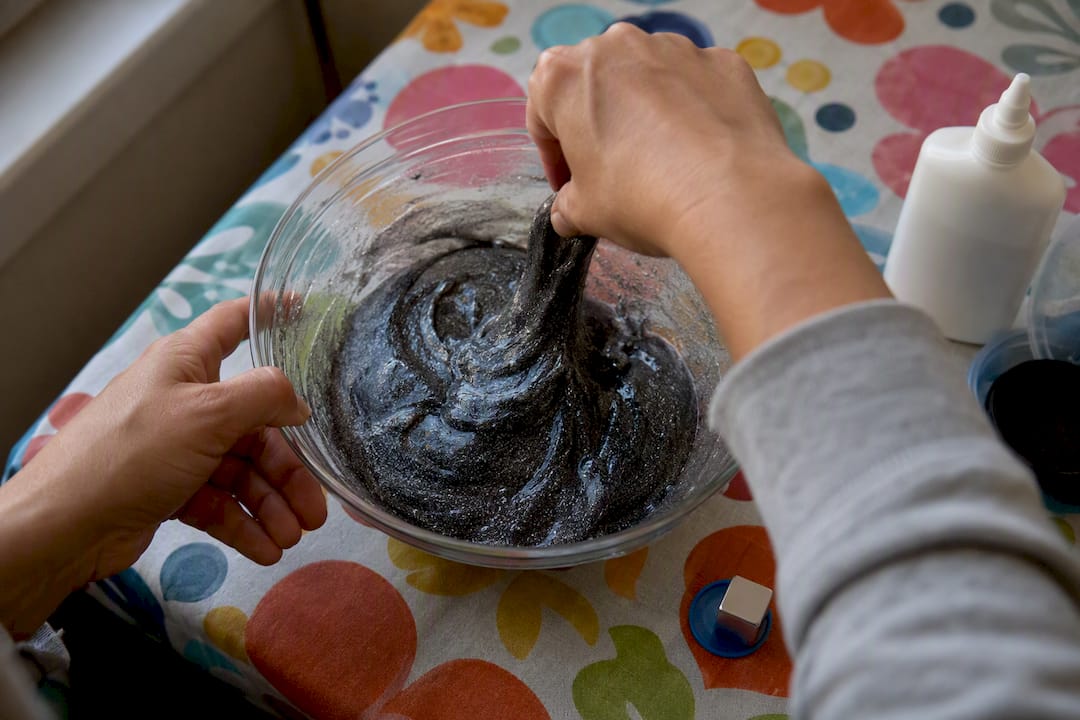
5. Magnetic slime (ages 8 to 12, 20 minutes, needs adult mixing). Goal: show a “hidden” magnetic reaction inside a squishy material. Materials: clear glue, liquid starch or borax solution, iron oxide powder, a strong neodymium magnet. Mix glue and iron oxide first, then slowly add the activator until it firms into slime. Hold the magnet near it and watch the slime creep toward the pull. If it stays too runny, add a bit more activator; if it won’t move toward the magnet, you likely need more iron oxide.
Building an Electromagnet and Simple Motor
An electromagnet turns ordinary electric current into a magnetic pull, and a homopolar motor turns that pull into motion. Both take under 10 minutes and use one AA battery.
Electromagnet build:
- Wrap 20 to 30 tight coils of insulated copper wire around an iron nail, leaving both wire ends free.
- Strip the insulation off the last inch of each end.
- Touch one end to each battery terminal for no more than 15 seconds at a time.
- Test the nail’s tip against paperclips; it should pick a few up while connected.
Homopolar motor demo: Balance a AA battery upright on a strong disc magnet, then rest a bent copper wire loop so one end touches the battery’s top and the other brushes the magnet’s edge. The loop should spin almost instantly. If it stalls, check that the wire ends make firm contact and that the loop isn’t touching the battery’s sides.
Current moving through a coiled wire generates its own magnetic field, which is exactly what makes electromagnets and motors work. Disconnect the battery the moment the nail or wire feels warm.
How Do You Visualize a Magnetic Field at Home?
A sealed bottle beats loose iron filings for a mess-free way to see field lines in three dimensions. Fill a small plastic bottle with mineral oil or fine sand mixed with iron filings, then center a bar magnet inside a snug tube running through the middle.
- Seal the cap with hot glue or strong tape before handing it to kids.
- Shake gently and watch filings snap into curved lines running pole to pole.
- Filings stand upright at the poles and lie flat along the sides, tracing the loop shape of the magnetic field.
Iron filings can rust inside a sealed container over months. Swap in black sand, or magnetite, which doesn’t oxidize and gives the same visual effect for a bottle that lasts years instead of weeks.
Why Do Only Some Materials Respond to Magnets?
Magnetism only shows up in materials built from iron, nickel, cobalt, or alloys like steel that contain them. Copper, aluminum, and most plastics ignore a magnet completely, which is why a control test with a penny or foil ball matters just as much as the magnet itself.
Inside a magnetic material, tiny regions called domains act like microscopic compass needles, each one already magnetized in its own direction. In an unmagnetized nail, those domains point every which way and cancel out. Stroke the nail with a magnet, or run current through a coil around it, and the domains snap into alignment, turning the whole nail into a working magnet.
That alignment idea also explains induction. When a magnet moves near a wire loop, it drags the loop’s own electrons into motion, creating a current from nothing but movement. That’s the same principle behind the homopolar motor spinning, and it’s the seed of what Michael Faraday formalized as electromagnetic induction almost 200 years ago.
How to Measure and Compare Magnet Strength
You don’t need a gauss meter to rank magnets by strength. A few low-tech tests give a reliable comparison.
The paperclip chain test is the simplest: hold each magnet against a single paperclip, then see how many additional clips it can support in a hanging chain before the bottom one drops. A stronger magnet holds more links.
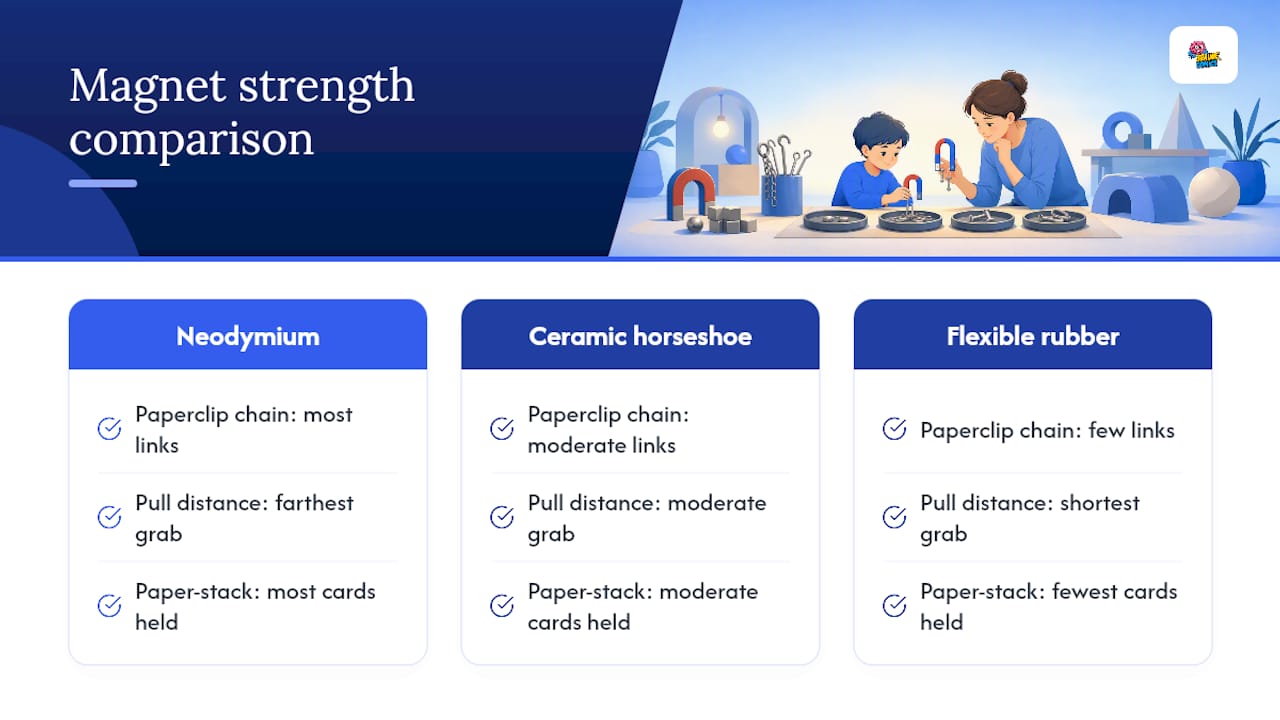
The distance test measures pull through the air. Slide a magnet toward a steel washer on a table and mark the exact distance where the washer first jumps toward it. Repeat with a different magnet and compare the marks; the one that grabs from farther away is stronger.
The paper-stack test checks pulling force through a barrier. Stack index cards between a magnet and a paperclip, adding one card at a time, until the paperclip no longer holds. Count the cards for each magnet you test.
None of these give you an exact number in teslas, but they’re enough to rank three or four magnets from weakest to strongest, which is really what most kids and classrooms need. If you want a rough numeric scale, assign each magnet a score based on paperclip count, then compare scores directly. Neodymium magnets, common in small disc form, consistently outperform the flexible rubber magnets from refrigerator doors and old craft kits by a wide margin. Size doesn’t always predict strength either; a small neodymium disc can out-pull a much bigger ceramic horseshoe magnet, which is itself a useful lesson about material versus size.
What Scientific Principles Do These Experiments Teach?
Every activity above traces back to three linked ideas: magnetic force, magnetic fields, and electromagnetism.
Magnetic force is the push or pull between two magnetic objects, and it only runs in two flavors: attraction between opposite poles and repulsion between like poles. The paperclip chain and magnetic fishing experiments both isolate this force so kids can feel it directly, without any wiring or theory getting in the way.
Magnetic fields describe the invisible zone around a magnet where that force operates, strongest at the poles and weaker as you move away. The sealed bottle experiment turns this invisible zone into something you can actually see, tracing curved lines that show the field’s shape rather than just its presence.
Electromagnetism ties the other two together by showing that electricity and magnetism are the same underlying force viewed from different angles. Run current through a coiled wire and you get a magnetic field; move a magnet near a wire and you get current. The electromagnet and homopolar motor demonstrate both directions of that relationship in under ten minutes combined, which is a lot of physics for one AA battery.
What History Shaped Our Understanding of Magnetism?
Magnetism has been observed and misunderstood for thousands of years before anyone explained it correctly. Ancient sailors relied on lodestone, a naturally magnetized mineral, to build the first crude compasses long before anyone understood why it worked.
The real turning point came in 1820, when Danish physicist Hans Christian Oersted noticed a compass needle twitch near a wire carrying electric current. That accidental observation, made during a lecture demonstration, proved for the first time that electricity and magnetism weren’t separate phenomena. It kicked off a race across Europe to understand the connection.
Michael Faraday built on that discovery through the 1830s, showing that a changing magnetic field could induce an electric current in a nearby wire, a principle now called electromagnetic induction. That single idea underlies every generator, transformer, and electric motor built since. The homopolar motor demo in this article is a direct, simplified descendant of Faraday’s own lab experiments from nearly two centuries ago.
James Clerk Maxwell later unified these observations into a compact set of equations in the 1860s, proving that electricity, magnetism, and light were all expressions of the same electromagnetic field. That theoretical leap still forms the backbone of how physics students learn the subject today, decades and centuries after a lodestone first pointed someone north.
Ways to Extend These Experiments Further
Once the basic versions work, small changes turn a five-minute demo into a real investigation.
Try changing the number of coil wraps on the electromagnet nail. Build one version with 10 wraps and another with 40, then compare how many paperclips each version can lift. More coils generally means a stronger field, but there’s a point of diminishing return worth discovering firsthand.
Swap battery counts for the same test. Two AA batteries in series produce a noticeably stronger pull than one, though the wire also heats up faster, which is a good moment to reinforce the overheating safety rule from earlier.
For the maglev and levitation idea, younger kids can build a simple floating setup with two repelling ring magnets on a dowel, while older students can measure how the floating height changes as you add weight on top. That single project scales from a five-minute wow moment to a genuine science-fair measurement exercise.
The sealed bottle visualization scales too: try two magnets side by side instead of one, and the field lines will show a completely different pattern where the fields interact.
Why Story-Led Experiments Help Kids Actually Finish Them
Handing a kid a materials list rarely gets an experiment started. Wrapping the same activity inside a story does. That’s the working theory behind Brainiecomics, which builds physics and chemistry experiments into comic narratives instead of standalone instruction sheets.
Reluctant readers who won’t touch a textbook will often follow a comic panel to the end, and each panel in a Brainiecomics book leads directly into a kitchen-safe experiment tied to the plot. A kid isn’t just building an electromagnet: a character in the story needs one to solve a problem, which gives the steps a reason to matter. Clear, short instructions paired with visual demos already raise caregiver confidence and follow-through on physics activities at home, and a story adds a second layer of motivation on top of that.
Our Take: Skip the Overbuilt Kits, Start With What’s Already in Your Kitchen
Most magnetism kits oversell the equipment and undersell the explanation. A box full of specialty magnets is nice, but it doesn’t teach a kid anything a paperclip and a bar magnet from the junk drawer can’t teach just as well. The gap isn’t in materials. It’s in whether an adult can explain, in plain language, why the needle turns or why the slime creeps toward the magnet.
Conventional advice treats these experiments as one-off demos: do it once, move on. That undersells them. The paperclip chain test and the distance test both turn into repeatable comparisons once you try them on three or four magnets instead of one, and that repetition is where real understanding builds.
If you’re picking a starting point, don’t chase the flashiest experiment. Start with the compass and the sealed bottle. They’re the cheapest, safest, and most visually convincing, and they set up every harder idea that follows, including electromagnetism.
— Brainie Comics
Keep the Momentum Going With a Story-Driven Science Comic
A single afternoon of magnet experiments is a great start, but kids retain more when the science ties into a story they actually want to finish. That’s the specific gap Brainiecomics fills: books built around a plot where a character needs to build a working experiment to move the story forward, not a worksheet that happens to have a cartoon in the corner.
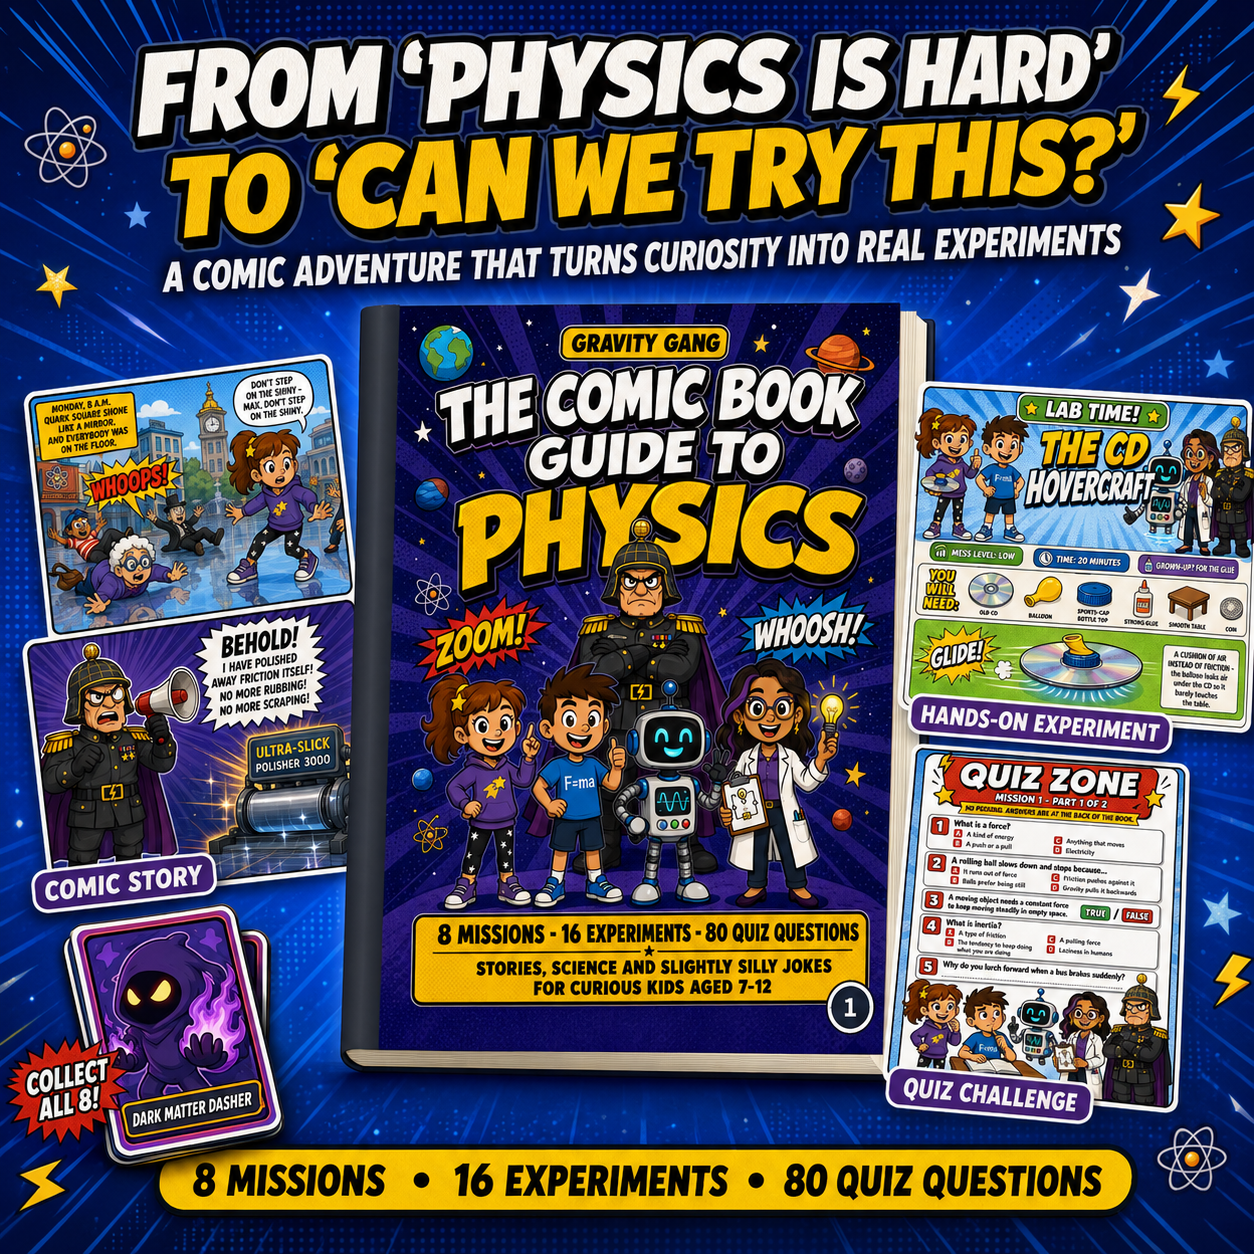
Gravity Gang wraps physics concepts, including magnetism and force, into a comic adventure with a full materials list, step-by-step instructions, and a completion certificate at the end. Fizz Force does the same for chemistry, with kitchen-safe reactions tied to its own storyline. Both are built for ages 7 to 12 and hand parents and teachers everything they need in one package: no separate printouts, no hunting for supplies. If your kid finished the compass and slime experiments above and wants more, check out Gravity Gang and see which story hooks them first.
Sources
- Magnet Experiment for Kids | Push & Pull | 3M Science at Home
- Magnetic Lines of Force: Physics & Magnetism Science Activity | Exploratorium
- Experiment 5: Faraday’s Law (MIT OCW)
- Do Try This at Home | Institute of Physics